
OPERATING MANUAL
1. DESCRIPTION
The Nous C1 ZigBee Smart Wireless Switch (4 Buttons) is a versatile four-button switch for wireless smart home control. It allows you to easily control devices and trigger smart home scenarios via the Zigbee 3.0 protocol. The model features four independent buttons, each of which can trigger individual actions or scenarios. Designed to control lighting groups and dimmers, trigger sequential smart home scenarios, and create quick commands for blinds, climate control, outlets, and other devices. An alternative to traditional switches that doesn’t require wall mounting; it can be installed on any surface thanks to a self-adhesive sticker.
Each of the 4 buttons can be configured for flexible control:
- single press – classic on/off or launch of the first scenario;
- double-press – activation of an alternative scene;
- long press – activation of an additional function or scene.
This allows for up to 12 actions/scenes.
IMPORTANT: You will need a Nous E1, Nous E7, Nous E15 or other Tuya compatible ZigBee gateway/hub to connect.
|
|
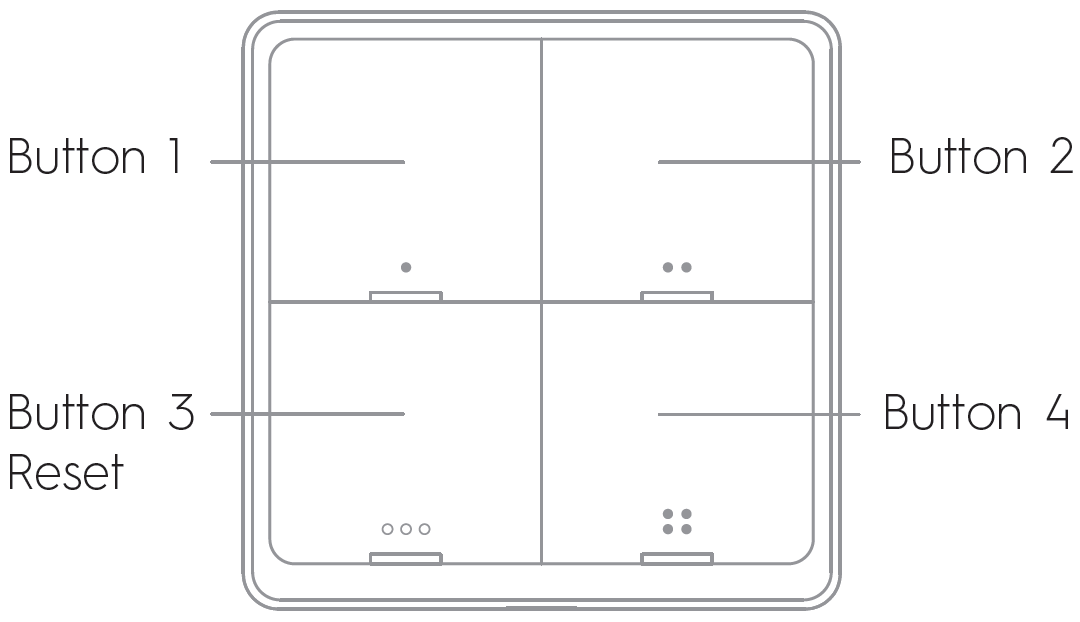
Press and hold button "3" for 10 seconds until the LED indicator flashes. The switch will then enter Quick Configure Mode (required for connecting to a gateway/hub).
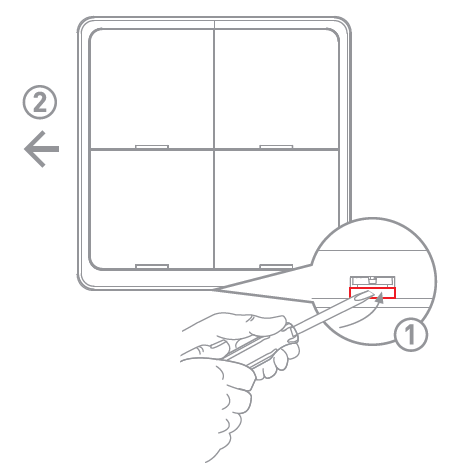 |
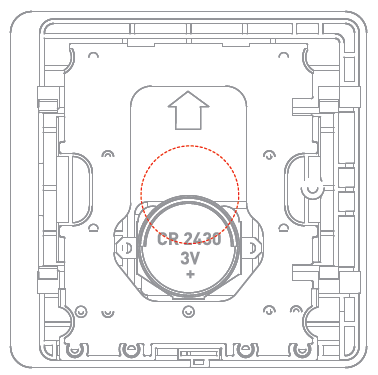
2. Remove the old battery when it runs out, then insert a new CR2430 battery into the slot.
 |
2. TECHNICAL CHARACTERISTICS
Network: ZigBee 3.0
Network Protocol: IEEE 802.15.4
Frequency range: 2.400-2.483 GHz
Working Range: 25m open area
Battery: CR2430 3V DC
Battery Life: >50000 times
Working Temperature: -10°C~45°C
Working Humidity: <90%RH
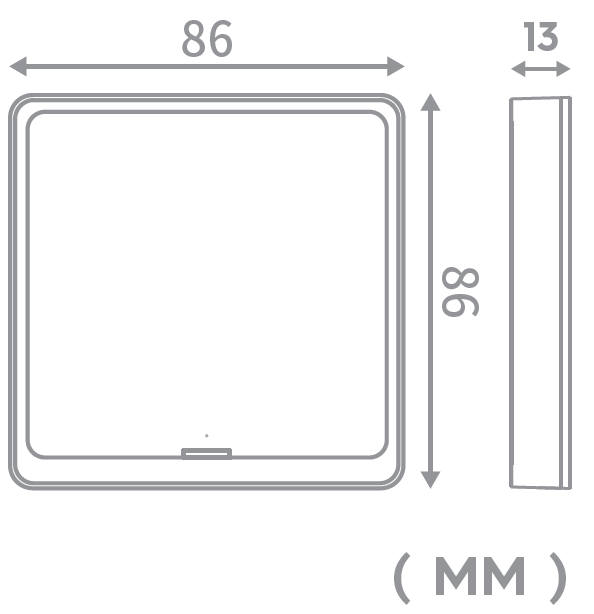
Dimension: 86*86*13mm
 |
3. SAFETY AND PRECAUTIONARY MEASURES
- Please read this manual carefully.
- Use the product within the temperature and humidity limits specified in the technical data sheet.
- Do not install the product near heat sources such as radiators, etc.
- Do not allow the device to fall or be subject to mechanical stress.
- Do not use chemically active or abrasive detergents to clean the product. Use a damp flannel cloth instead.
- Do not exceed the specified power rating. This may result in a short circuit and electric shock.
- Do not disassemble the product yourself - diagnostics and repairs of the device should only be carried out at a certified service center.
4. CONNECTION
To connect the Nous device, you need a smartphone based on the Android or iOS mobile operating system with the Nous Smart Home application installed. This mobile application is free and available for download from Play Market and App Store. The QR code for the application is given below:
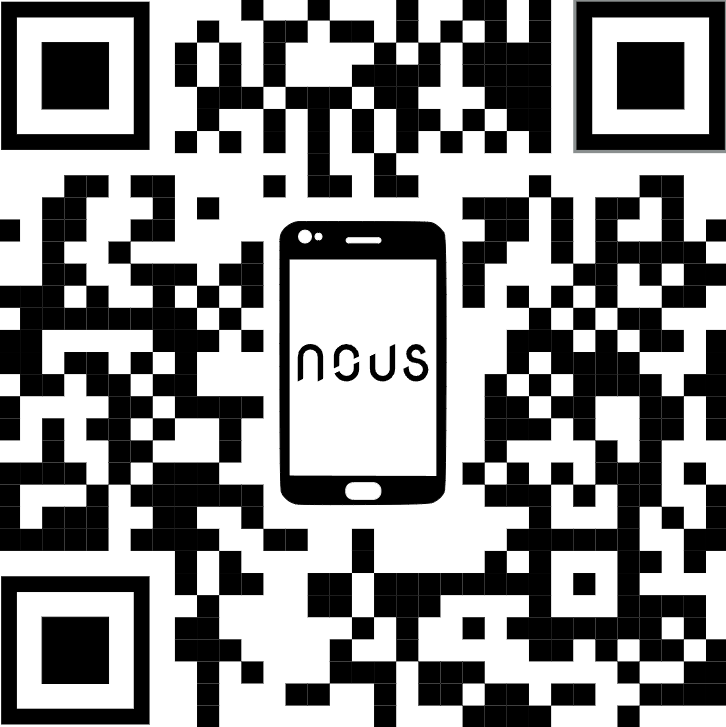 |
Scan the QR code or download it from direct link
After installing the program, for its correct operation, it is necessary to grant it all permissions in the corresponding section of the smartphone settings. Then you need to register a new user of this program.
Quick Installation Guide (the procedure for connecting the device to the Zigbee network):
| 1 | Connect the smartphone to the access point that will be used to connect the device (your ZigBee hub should already be connected to the app). Make sure the network frequency range is 2.4 GHz, otherwise the device will not connect, as Zigbee Habs are not designed to work with 5 GHz Wi-Fi networks. | |
| 2 | Connect the device to the network. If the global indication does not flash quickly, then press the button for 5-7 seconds to reset the smart outlet settings to factory values. | |
| 3 | Open the Nous Smart Home app and click the button to add a new device | |
| 4 |
An autoscan will appear, prompting you to add a new device. Confirm the connection and start pairing. |
|
| 5 |
If autoscan doesn't see your device, you can select it manually from the list of devices |
|
 |
.jpg) |
|
| 6 | In the "Add Manually" tab, select the "Smart Switches" category, and in it the "Nous С1" model, as shown in the figure above; | |
| 7 | In the window that opens, select "next step" and click the "Next" button; | |
| 8 | Connection to the Zigbee hub | |
 |
 |
|
| 8 | A window will appear indicating the degree of network connection and adding the current user of the program to the list of devices: | |
| 9 | After the procedure, a window will appear in which you can set the name of the device and choose the room in which it is located. The device name will also be used by Amazon Alexa and Google Home. | |
| 10 | To delete all data from the smart socket, in the device menu, you need "Delete device", "disabled and delete all data" | |
| When the device is removed from the device list of the application user, the settings of the smart socket will be reset to factory values and it will be necessary to shorten the procedure of connecting to the Wi-Fi network again. If the password for the Wi-Fi access point was entered incorrectly, then after the timer expires, a "failed to connect to Wi-Fi" window appears in the application with step-by-step instructions to fix the problem. | ||
How to connect your device to Alexa:
| 1 |
Sign in with your Alexa account and password (if you're not already signed in, sign up first); After logging in, click the menu in the upper left corner, then click "Settings" and select "Set up a new device"; |
|
| 2 |
Select "Skills" in the options bar, then search for |
|
| 3 |
Enter the username and password you previously registered (the account is only supported in the United States); When you see the correct page, it means that your Alexa account is linked to your NOUS Smart Home account. |
|
 |
 |
|
| 4 |
Device discovery: Users must tell Echo, |
|
| 5 |
List of support skills |
|
| Attention: the name of the device must match the NOUS Smart Home APP. | ||