
OPERATING MANUAL
description
The Nous E12 ZigBee Carbon Monoxide Detector for Home Use is capable of detecting carbon monoxide leaks and preventing damage caused by them. It uses a highly stable electrochemical gas sensor, which is characterized by stability and minimal sensitivity drift. When a CO leak is detected that reaches the set threshold, the detector flashes red and emits an audible alarm. This sensor is suitable for installation in residential areas where carbon monoxide leaks are possible.
- Single-source detection, protected against false alarms due to dust, insects or moisture.
- Professional labyrinth design, rapid fire detection.
- Notification function via app, check battery level and working status at any time.
- Housing made of fire-resistant plastic with a glossy surface.
 NOTE: You will need a Nous E1, Nous E7 or other Tuya-compatible ZigBee gateway/hub to connect.
The device's connection to the Internet cannot be guaranteed in all cases, as it depends on many conditions: the quality of the communication channel and intermediate network equipment, the make and model of the mobile device, the version of the operating system, etc.
PREVENTIVE MEASURES
- Read these instructions carefully.
- Use the product within the temperature and humidity limits specified in the technical data sheet.
- Do not install the product near heat sources, such as radiators, etc.
- Do not allow the device to fall or be subjected to mechanical stress.
- Do not use chemically active or abrasive cleaning agents to clean the product. Use a damp flannel cloth.
- Do not overload the specified capacity. This may cause a short circuit and electric shock.
- Do not disassemble the product yourself - diagnostics and repair of the device should only be carried out at a certified service center.
Design and controls
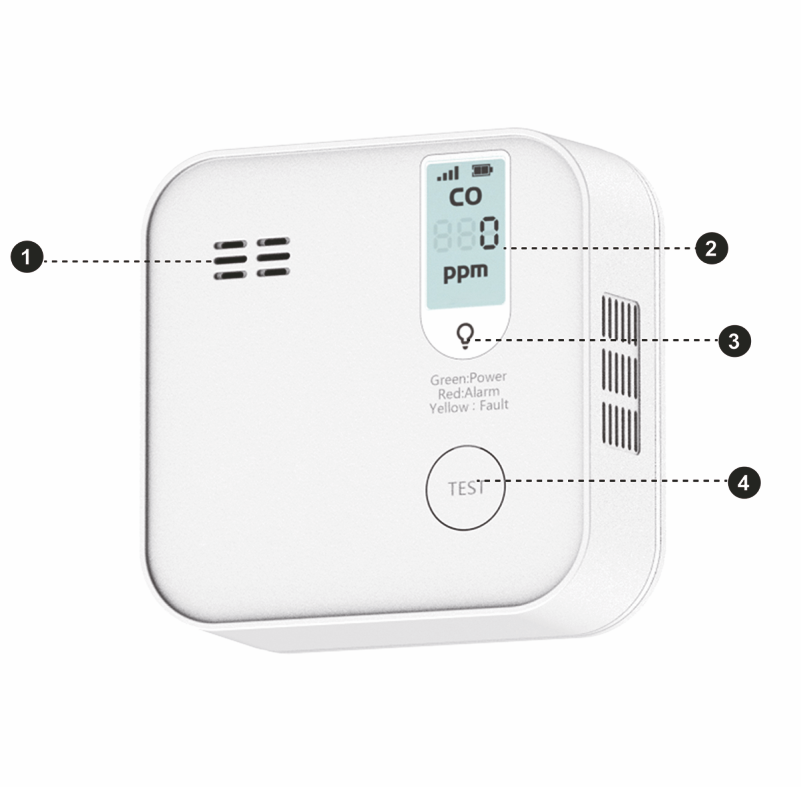
| № | Name | description |
| 1 | Piezoelectric emitter | |
| 2 | LCD display | |
| 3 | Indicator | Shows the current status of the device |
| 4 | Button | A long press of the button (5-7 C) resets the device settings and network connection parameters. |
Connection
To connect the Nous E12 device, you need a smartphone based on the Android or iOS mobile operating system with the Nous Smart Home application installed. This mobile application is free and available for download from the Play Market and App Store. The QR code for the application is given below:

After installing the application, for it to work correctly, you need to grant it all permissions in the appropriate section of your smartphone settings. Then you need to register a new user of this application.
How to connect a smart socket to a Zigbee network:
| 1 | Connect your smartphone to the access point that will be used to connect your smart device. Make sure the network frequency range is 2.4 GHz, otherwise the device will not connect as Zigbee Hubs are not designed to work with 5 GHz Wi-Fi networks; (your ZigBee Hub must already be connected to the app) | |
| 2 | Turn on the device. If the light indicator does not flash quickly, press the button for 5-7 seconds to reset the device settings to factory defaults. | |
| 3 | Open the Nous Smart Home app and click the add new device button | |
| 4 |
An auto-scan will appear, prompting you to add a new device. Confirm the connection and start pairing. |
|
| 5 |
If auto-scan doesn't see your device, you can select it manually from the device list |
|
 |
.jpg) |
|
| 6 | In the "Add Manually" tab, select the "Smart Sensors" category, and in it the "E12 Smoke Sensor" model, as shown in the figure above; | |
| 7 | In the window that opens, select "next step" and click the "Forward" button; | |
| 8 | connecting to a Zigbee hub | |
 |
 |
|
| 8 | A window will appear indicating the degree of network connection and adding the current user of the application to the list of devices: | |
| 9 | Once the procedure is complete, a window will appear where you can name the device and select the room it is in. The device name will also be used by Amazon Alexa and Google Home. | |
| When the device is removed from the user's device list in the application, the smart socket settings are reset to factory settings and you will need to go through the Wi-Fi connection procedure again. If the password for the Wi-Fi access point was entered incorrectly, the application will display a "Failed to connect to Wi-Fi" window after the timer expires, offering step-by-step steps to fix the problem. | ||
Installation method
| Installation procedure using the mounting plate: | ||
| 1 |
Slide the mounting plate down. Then remove |
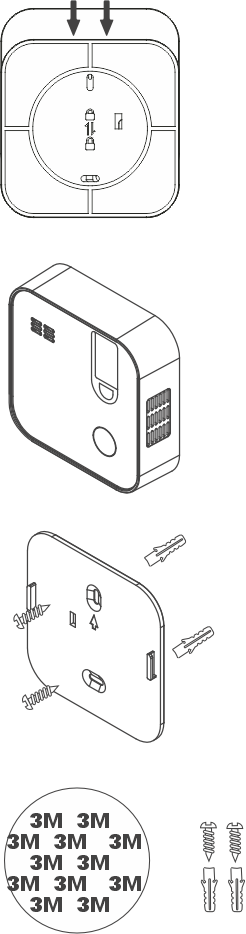 |
| 2 |
Drill two 4mm diameter holes in the wall, 46mm apart. Then insert two plastic anchors into the holes. Align the hole for the hanging plate in the package with the hole for the plastic anchor. |
|
| 3 |
Press the self-test button to verify that the device can operate with the sound and light signal. |
|
| 4 |
Align the holes on the back of the device with the mounting plate and install it. |
|
|
Importantly: |
Make sure that the Wi-Fi network in the selected installation location is stable and has a sufficient level. |
Mode announcement
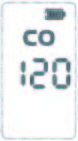
| LCD Display | Mode |
Description of the Phenomenon |
|
|
|
Warm-up |
The LCD shows a 120 second countdown . The green indicator flashes once every 2 seconds . |
|
|
|
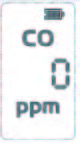
Normal |
The green indicator flashes once every 40 seconds. |
|
|
|
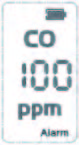
Anxiety |
The buzzer sounds 4 times continuously. The red light flashes. The LCD shows the real-time concentration. |
|
|
|
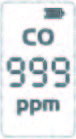
Excess |
The CO level is out of range over 999. |
|
|
|
Test mode |
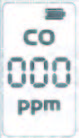
The LCD display shows “000 ppm”, the indicators flash red, green, yellow and red, and an audible signal sounds. |
|
|
|
Sensor malfunction |
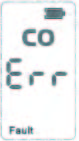
The yellow indicator flashes twice for 40 seconds , the buzzer beeps twice. |
|
|
|
Low battery |
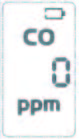
The yellow indicator flashes once every 40 seconds, the buzzer sounds once. The LCD shows an empty battery level, you need to replace the battery immediately. |
|
|
End of service life |
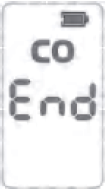
The LCD displays "End". The yellow indicator light is on continuously, the buzzer sounds three times every 60 seconds . The device can no longer operate normally. Replacement is required. |
|
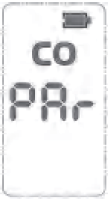 |
ZigBee wireless negotiation mode |
Press and hold the test button for more than 5 seconds to enter this mode, and the red indicator light will flash. |
|
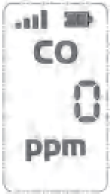 |
ZigBee wireless pairing successful |
The product's wireless connection to the ZigBee network |
|
CO concentration
|
CO concentration |
Alarm Triggering Condition |
|
|
30 ppm |
No alarm for 120 minutes. |
|
|
50 ppm |
Anxiety for 60-90 minutes. |
|
| 100 ppm | Alarm for 10-40 minutes | |
| 300 ppm | Alarm for 3 minutes | |
Recommended Installation Location
| Height: | Install at least 1.8 m above the ground . |
|
Proximity to the bedroom: |
If you only have one detector, install it closer to the bedroom . |
|
Distance to devices: |
Stay 1-3 m away from all fuel-burning appliances . |
|
Multi-storey buildings: |
It is recommended to install one detector on each floor . |
|
Protection: |
Installing a CO alarm is not a substitute for the proper installation, use, and maintenance of fuel-burning appliances, including appropriate ventilation and exhaust systems . |
|
Children: |
Install in a location inaccessible to children . Children are prohibited |