
OPERATING MANUAL
1. DESCRIPTION
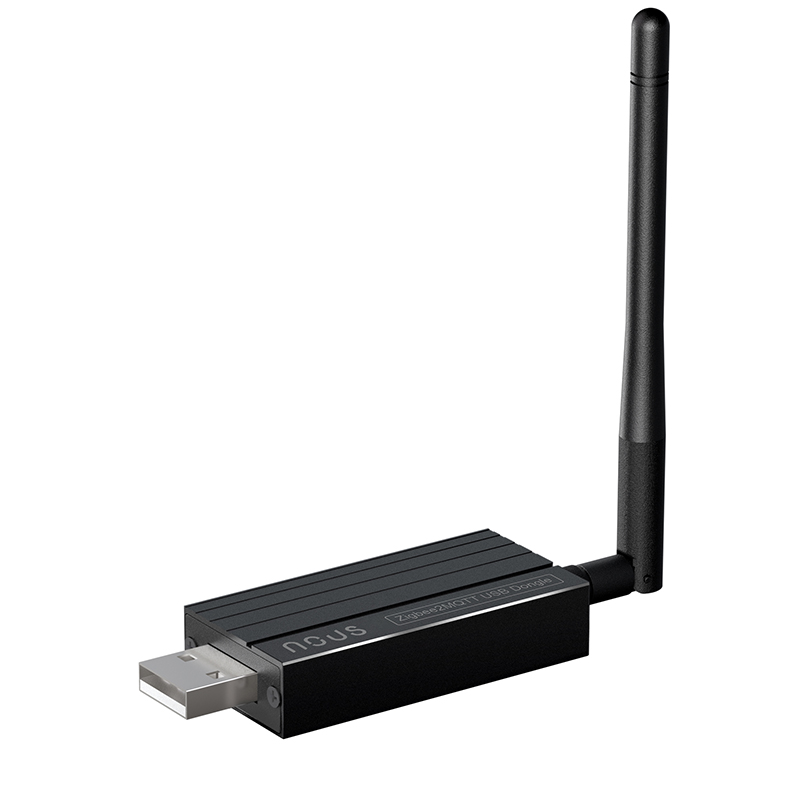
The NOUS E16 Zigbee2MQTT USB Dongle is a high-performance USB adapter designed for those looking to build a reliable and scalable smart home system. It connects to a PC/mini-PC/server (e.g., running Home Assistant) and turns it into a universal Zigbee gateway (coordinator). In other words, it serves as the “hub” of the Zigbee network, through which sensors, relays, lights, buttons, etc., from various brands can be connected – without the need to purchase separate proprietary hubs.
The aluminum housing minimizes electromagnetic interference from surrounding devices, ensuring signal integrity, and effectively dissipates heat under high loads, preventing freezes. Ready to use right out of the box
 |
Intelligent “Direct-Flash” firmware (no need to open the case). Automatic entry into Bootloader mode: you no longer need to open the device's case and press the tiny physical “Flash” button to update the firmware. The new circuitry allows the system to detect the flashing mode directly via USB.
2. TECHNICAL CHARACTERISTICS
Network Protocol (ZigBee 3.0): IEEE 802.15.4
Zigbee Frequency: 2.400 - 2.483 GHz
Antenna gain: 2 dBi
Max. Transmit Power (ZigBee): 20 dBm
Communication Distance: 200m open area
Power Input: 5V DC, 0.1A
PORT config: /dev/ttyUSB0
ESD protection: Yes
Maximum number of supported devices: supports 21 direct sub device by default and up to 40 sub device.
Working Temperature: -10°C~40°C
Working Humidity: 10-90%RH
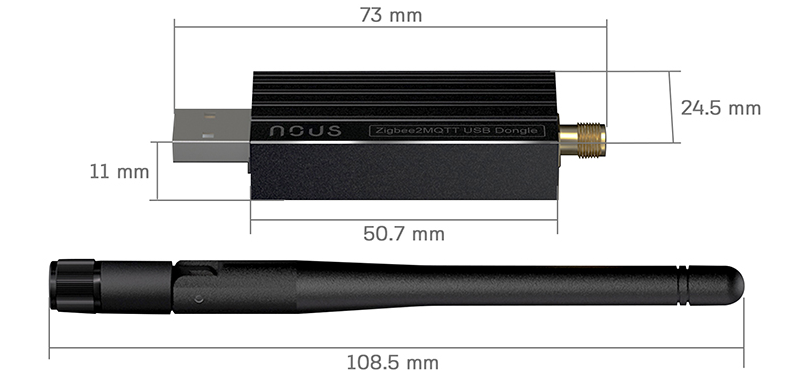
Dimension: 177*25*11mm
 |
3. SAFETY AND PRECAUTIONARY MEASURES
- Please read this manual carefully.
- Use the product within the temperature and humidity limits specified in the technical data sheet.
- Do not install the product near heat sources such as radiators, etc.
- Do not allow the device to fall or be subject to mechanical stress.
- Do not use chemically active or abrasive detergents to clean the product. Use a damp flannel cloth instead.
- Do not exceed the specified power rating. This may result in a short circuit and electric shock.
- Do not disassemble the product yourself - diagnostics and repairs of the device should only be carried out at a certified service center.
4. CONNECTION
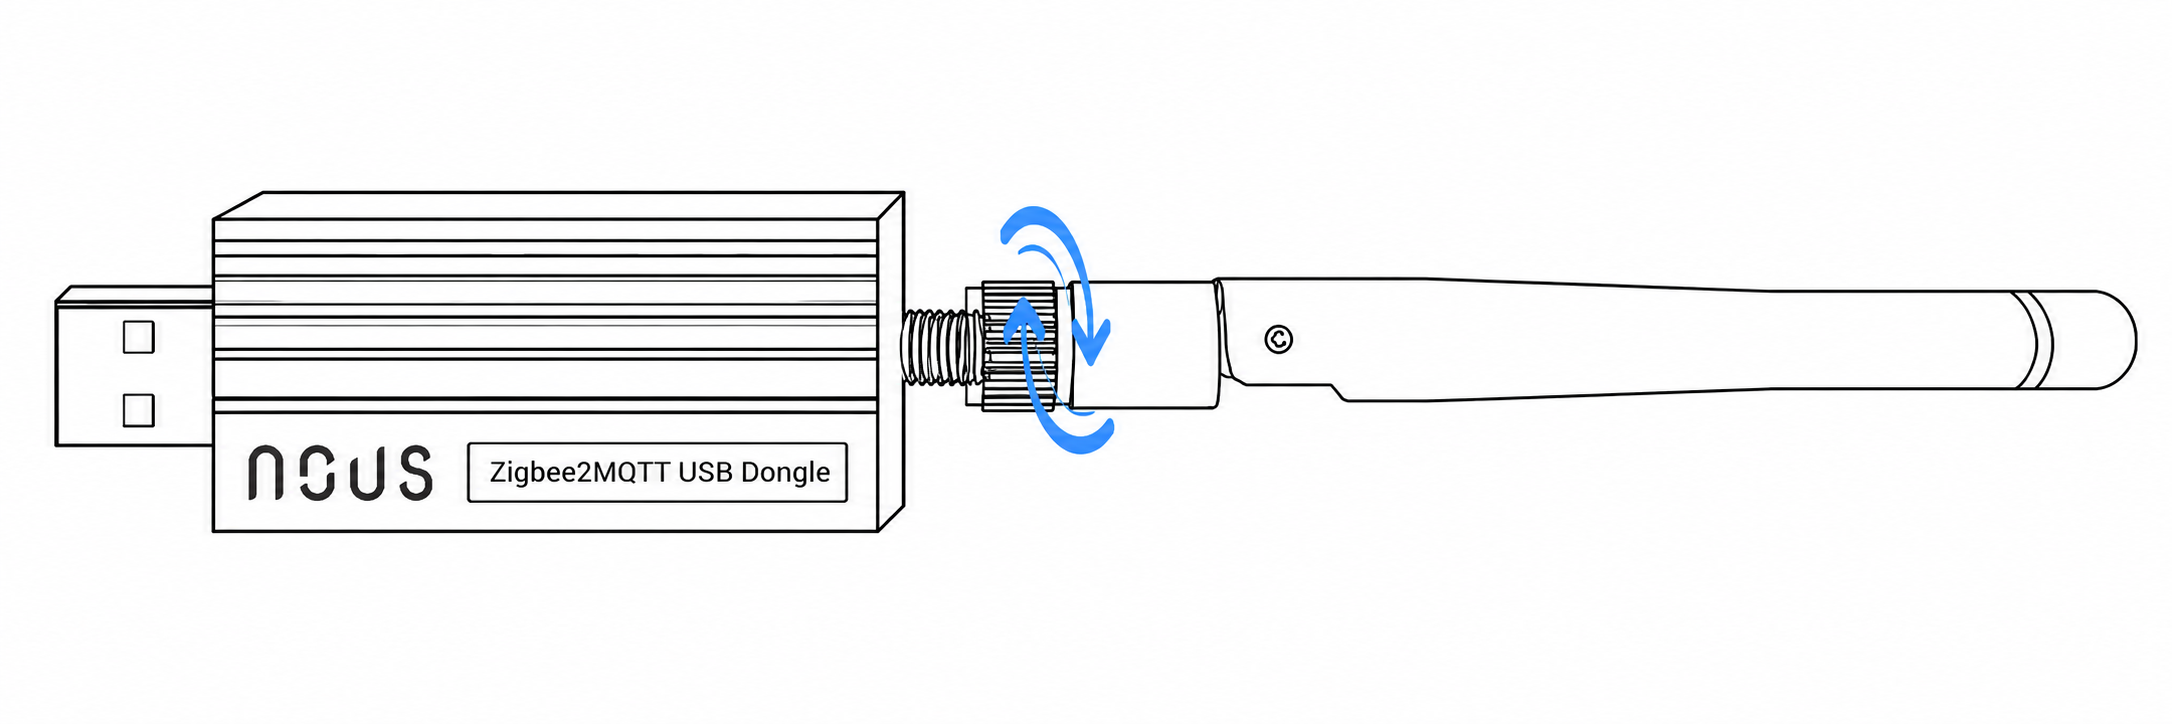
1.Open the package, connect the antenna to the USB port, and then insert it into a Computer / Raspberry Pi / HomeAssistant Green etc.
 |
2.Enter the corresponding system configuration (Home Assistant/OpenHAB) product port (port: /dev/ttyUSB0).
3.After configuration is completed, the device can be connected and used.*For detailed configuration procedures, please refer to the guidance documents of the corresponding system.
5. FLASHING FIRMWARE
Nous E16 uses a Texas Instruments CC2652P chip for wireless connectivity (zStack). The dongle has Zigbee coordinator firmware pre-installed from the factory.
The firmware can be updated, or changed (Zigbee router) with your preferred software. We recommend:
- Flasher software: XZG Multi-tool
https://mt.xyzroe.cc/ - Zigbee firmware: Koenkk builds
https://github.com/Koenkk/Z-Stack-firmware/releases
- Flasher software: XZG Multi-tool
Tutorial
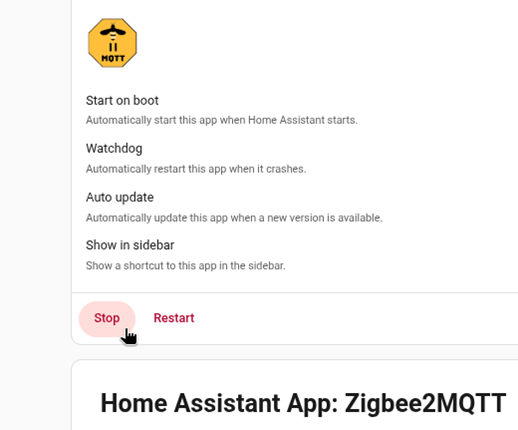
1. Stop any program using the dongle (e.g. Zigbee2MQTT)
 |
2. Insert the dongle into the USB port of your computer
3. Visit https://mt.xyzroe.cc/ on Chrome / Edge browser, or similar (Firefox and Safari don’t currently support flashing).
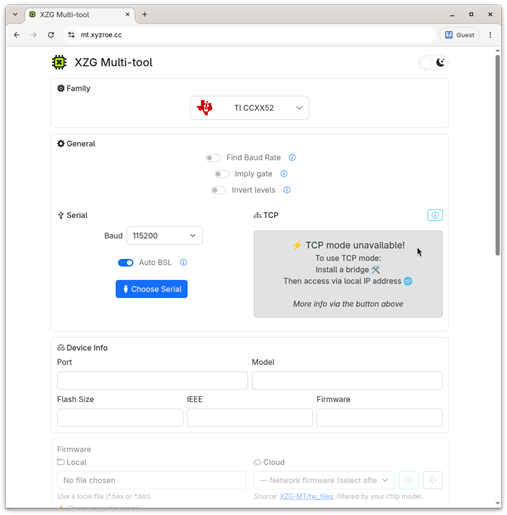 |
4. Select chip family: TI CCxx52
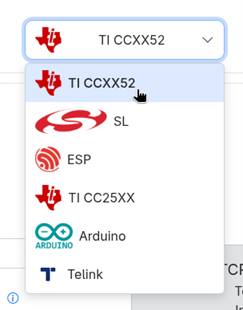 |
5. Select baud rate: 115200
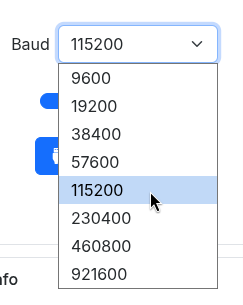 |
6. Select serial port
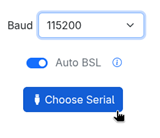 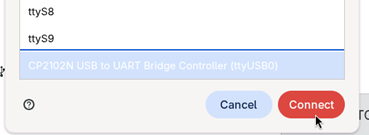 |
7. Select the firmware
- Zigbee coordinator: CC1352P2_CC2652P_launchpad_coordinator_xxxxxxxx.hex
- Zigbee router: CC1352P2_CC2652P_launchpad_router_xxxxxxxx.hex
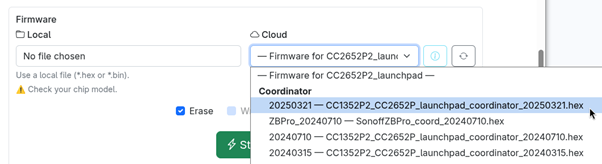 |
8. Click Start
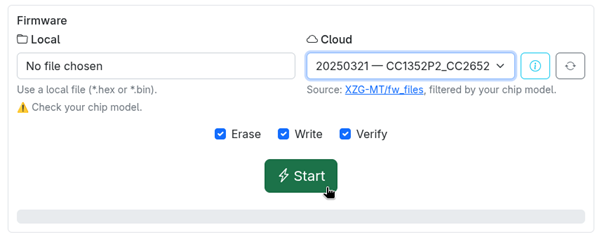 |
9. Wait for the process to finish. It takes around 30 seconds. Do not close or minimize the page!
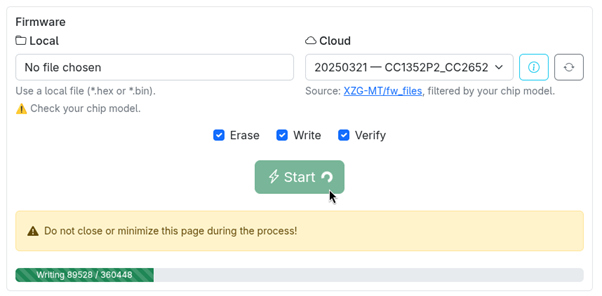 |
10. Click Disconnect, then plug the adapter back into your server.
 |