
MANUAL DE INSTRUCCIONES
1. DESCRIPCIÓN
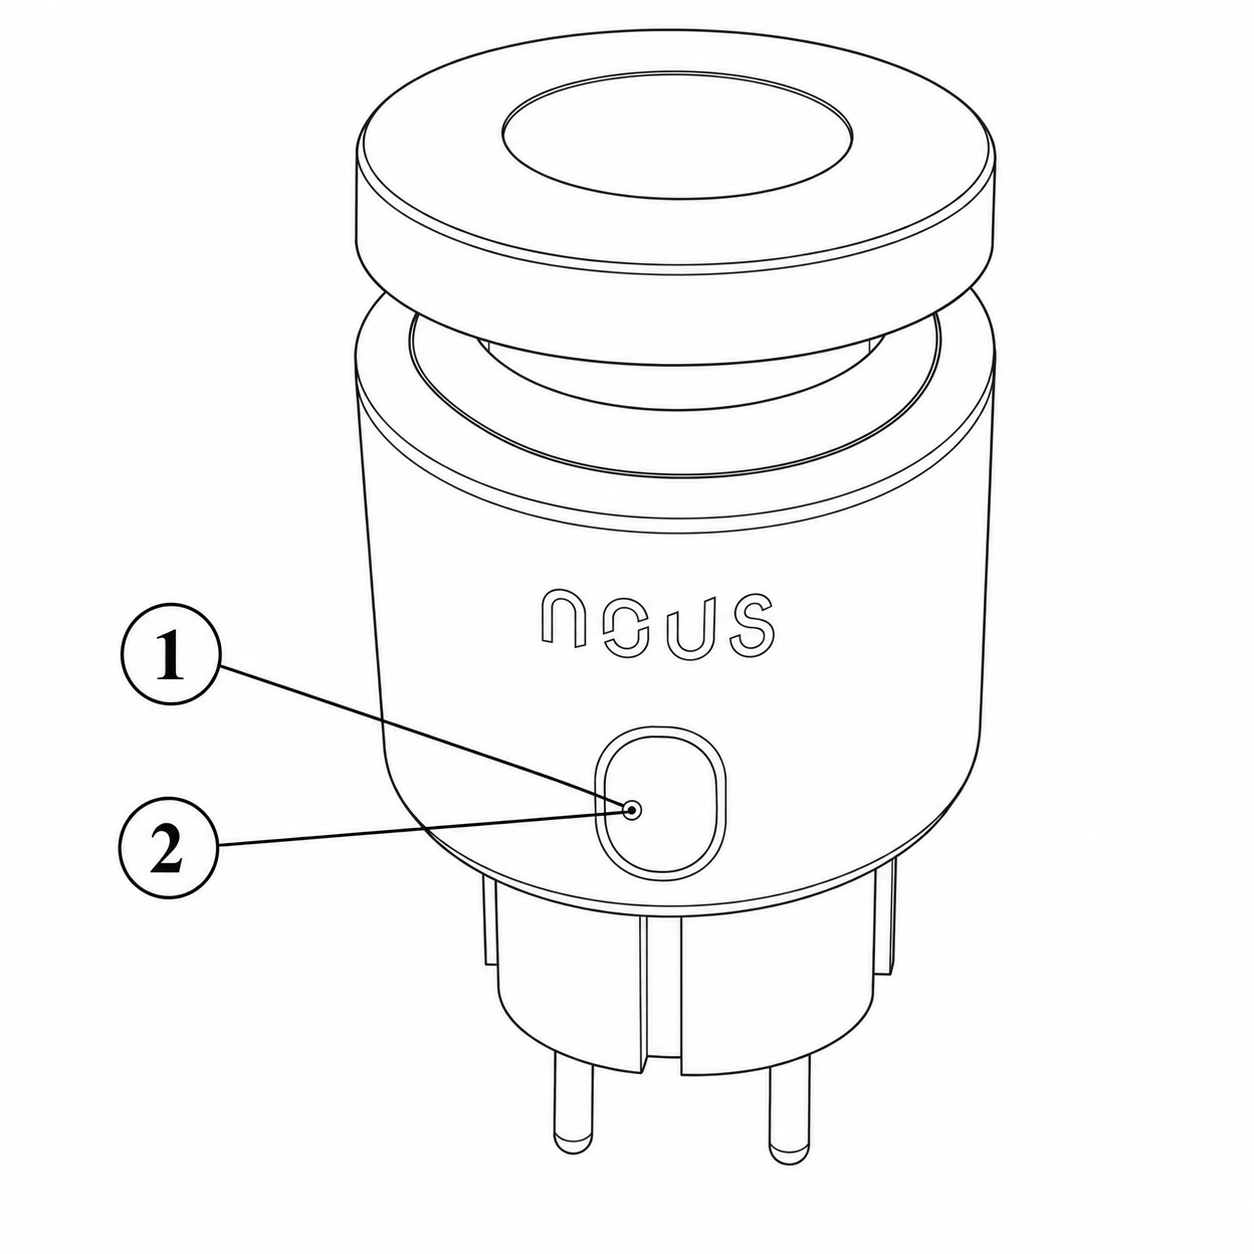 |
| No. | Nombre | Descripción |
| 1 | Botón | Una pulsación corta del botón enciende o apaga el dispositivo. Una pulsación larga (5-7 C) restablece la configuración del dispositivo y los parámetros de conexión de red. |
| 2 | Indicador | Muestra el estado actual del dispositivo. |
¡ADVERTENCIA!
Hubs necesarios para la conexión a través de Matter
1. Para Google Home/Google Nest.
Necesitas uno de estos dispositivos: Google Nest Hub (2.ª generación o posterior), Google Nest Hub Max, Google Nest Mini/Google Home Mini (con firmware actualizado), Google Nest Audio, Google Nest Wifi Pro (router compatible con Matter).
2. Para Apple HomeKit.
Necesitas uno de estos dispositivos: Apple HomePod (cualquier generación), Apple HomePod mini, Apple TV 4K (2022 o posterior con soporte Thread).
3. Para Amazon Alexa.
Necesitas uno de estos dispositivos: Amazon Echo (4.ª generación), Amazon Echo Dot (5.ª generación), Amazon Echo Show 10 (3.ª generación), Amazon Echo Studio, eero Pro 6 (router compatible con Matter).
4. Para Samsung SmartThings.
Necesitas: SmartThings Hub (v3), SmartThings Station.
2. CARACTERÍSTICAS TÉCNICAS
WiFi Frequency: 2.4 GHz
Network Protocol: IEEE802.11 b/g/n
Output Power: 3680W
Rated Voltage: 100-240VAC
Rated Current: 16A
Working Temperature: -5°C ~ 40°C
Water resistance: IP44
Frequency range: 2.400 - 2.4835 GHz
Max.Transmit Power: 17 dBm
Dimensions: 56*50*84mm
3. SAFETY AND PRECAUTIONARY MEASURES
- Please read this manual carefully.
- Use the product within the temperature and humidity limits specified in the technical data sheet.
- Do not install the product near heat sources such as radiators, etc.
- Do not allow the device to fall or be subject to mechanical stress.
- Do not use chemically active or abrasive detergents to clean the product. Use a damp flannel cloth instead.
- Do not exceed the specified power rating. This may result in a short circuit and electric shock.
- Do not disassemble the product yourself - diagnostics and repairs of the device should only be carried out at a certified service center.
4. CONNECTION
To connect the Nous device, you need a smartphone based on the Android or iOS mobile operating system with the Nous Smart Home application installed. This mobile application is free and available for download from Play Market and App Store. The QR code for the application is given below:
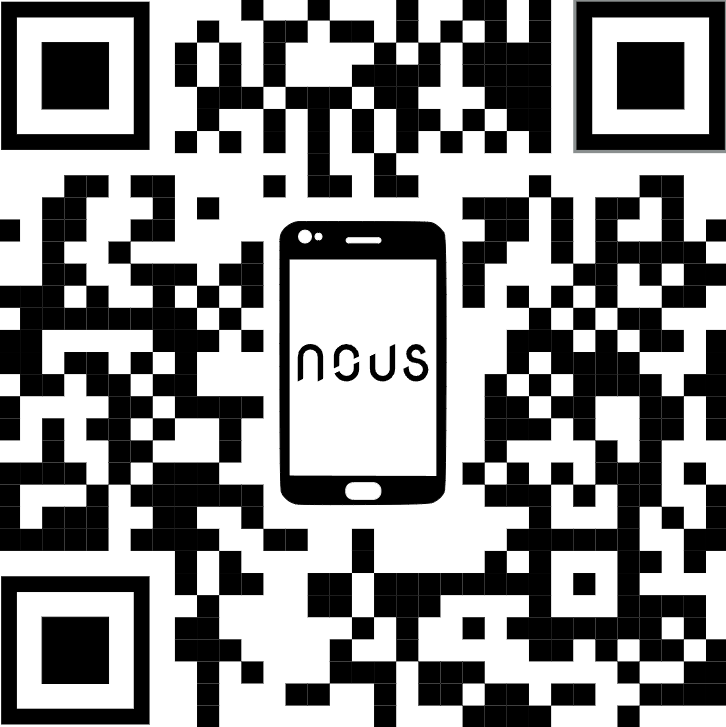 |
Scan the QR code
Importantly: Make sure that the Wi-Fi network is stable and has a sufficient level in the chosen installation location.
To connect your device to a Wi-Fi network:
| 1 | Connect your smartphone to the access point that will be used to connect the device. Make sure the network frequency range is 2.4 GHz, otherwise the device will not connect as it is not designed to work with 5 GHz Wi-Fi networks. | |
| 2 | Turn on the device. | |
| 3 | Open the Nous Smart Home app and click the add new device button. | |
| 4 |
An auto-scan will appear, prompting you to add a new device. Confirm the connection and start pairing. |
|
| 5 |
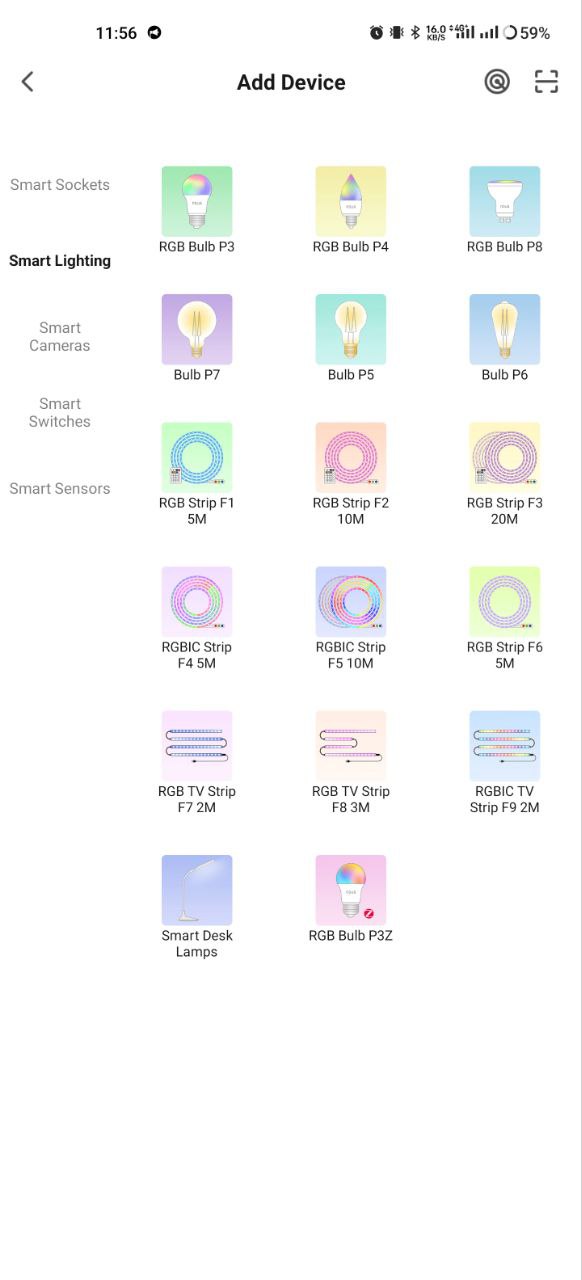
If auto-scan doesn't see your device, you can select it manually from the device list. |
|
 |
 |
|
| 6 | In the "Add manually" tab, select the "Smart sockets" category, and in it the model "A6M socket", as shown in the figure above; | |
| 7 | In the window that opens, select "next step" and click the "Next" button. | |
| 8 | In the next window, make sure that the name of the access point matches the required one, then enter the password for it in the line below and click the "Next" button. | |
 |
 |
|
| 9 | A window will appear indicating the degree of network connection and adding the current user of the application to the list of devices. | |
| 10 | Once the procedure is complete, a window will appear where you can name the device and select the room it is in. The device name will also be used by Amazon Alexa and Google Home. | |
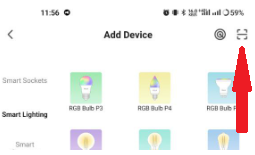
| 11 | Adding a device to the Nous Smart Home app using a QR code. | |
| 12 | In the "Add Manually" tab, select "Scan" as shown in the figure below. | |
 |
||
| 13 | Next, scan the QR code and wait for the device to appear in the app. | |
| 14 | Para eliminar todos los datos del dispositivo, debe seleccionar "Eliminar dispositivo" y luego "Apagar y eliminar todos los datos" en el menú del dispositivo. | |
| Cuando se elimina un dispositivo de la lista de dispositivos del usuario en la aplicación, la configuración del dispositivo se restablece a los valores de fábrica y deberá repetir el procedimiento de conexión Wi-Fi. Si la contraseña del punto de acceso Wi-Fi se ingresó incorrectamente, la aplicación mostrará una ventana de "Error al conectar con Wi-Fi" después de que expire el temporizador, con instrucciones paso a paso para solucionar el problema. | ||
5. Conexión mediante el protocolo Matter (Google Home, Apple HomeKit, Alexa)
1. Google Home
-
Abre Google Home → "+" → "Añadir dispositivo" .
-
Seleccione "Dispositivos de protocolo de materia" .
-
Escanee el código QR de la bombilla o introduzca el código manualmente.
-
Asignar una habitación → ¡listo!
2. Apple HomeKit
-
Abre la aplicación Casa → "+" → "Añadir dispositivo" .
-
Apunta la cámara al código QR de la bombilla.
-
Confirmar adición → asignar habitación.
3. Amazon Alexa (a través de Matter)
-
Abre la aplicación Alexa → "Dispositivos" → "+" → "Agregar dispositivo" .
-
Seleccione "Asunto" → "Buscar dispositivos" .
-
Alexa encontrará la bombilla → confirmar la adición.
-
Asigne un nombre y un grupo (por ejemplo, "Sala de estar").
¡Importante!
-
Para que Matter funcione correctamente, su hub debe estar en la misma red local que el dispositivo.
-
Algunas funciones (por ejemplo, escenarios avanzados) solo estarán disponibles a través de la aplicación nativa Nous Smart Home.
-
Si tiene problemas de conexión, pruebe lo siguiente:
-
Reinicia el hub
-
Actualizar el firmware del hub
-
Reiniciar dispositivo
-
Para obtener más ayuda, póngase en contacto con el soporte técnico de NOUS.