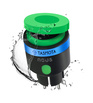
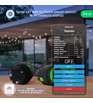
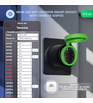
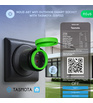

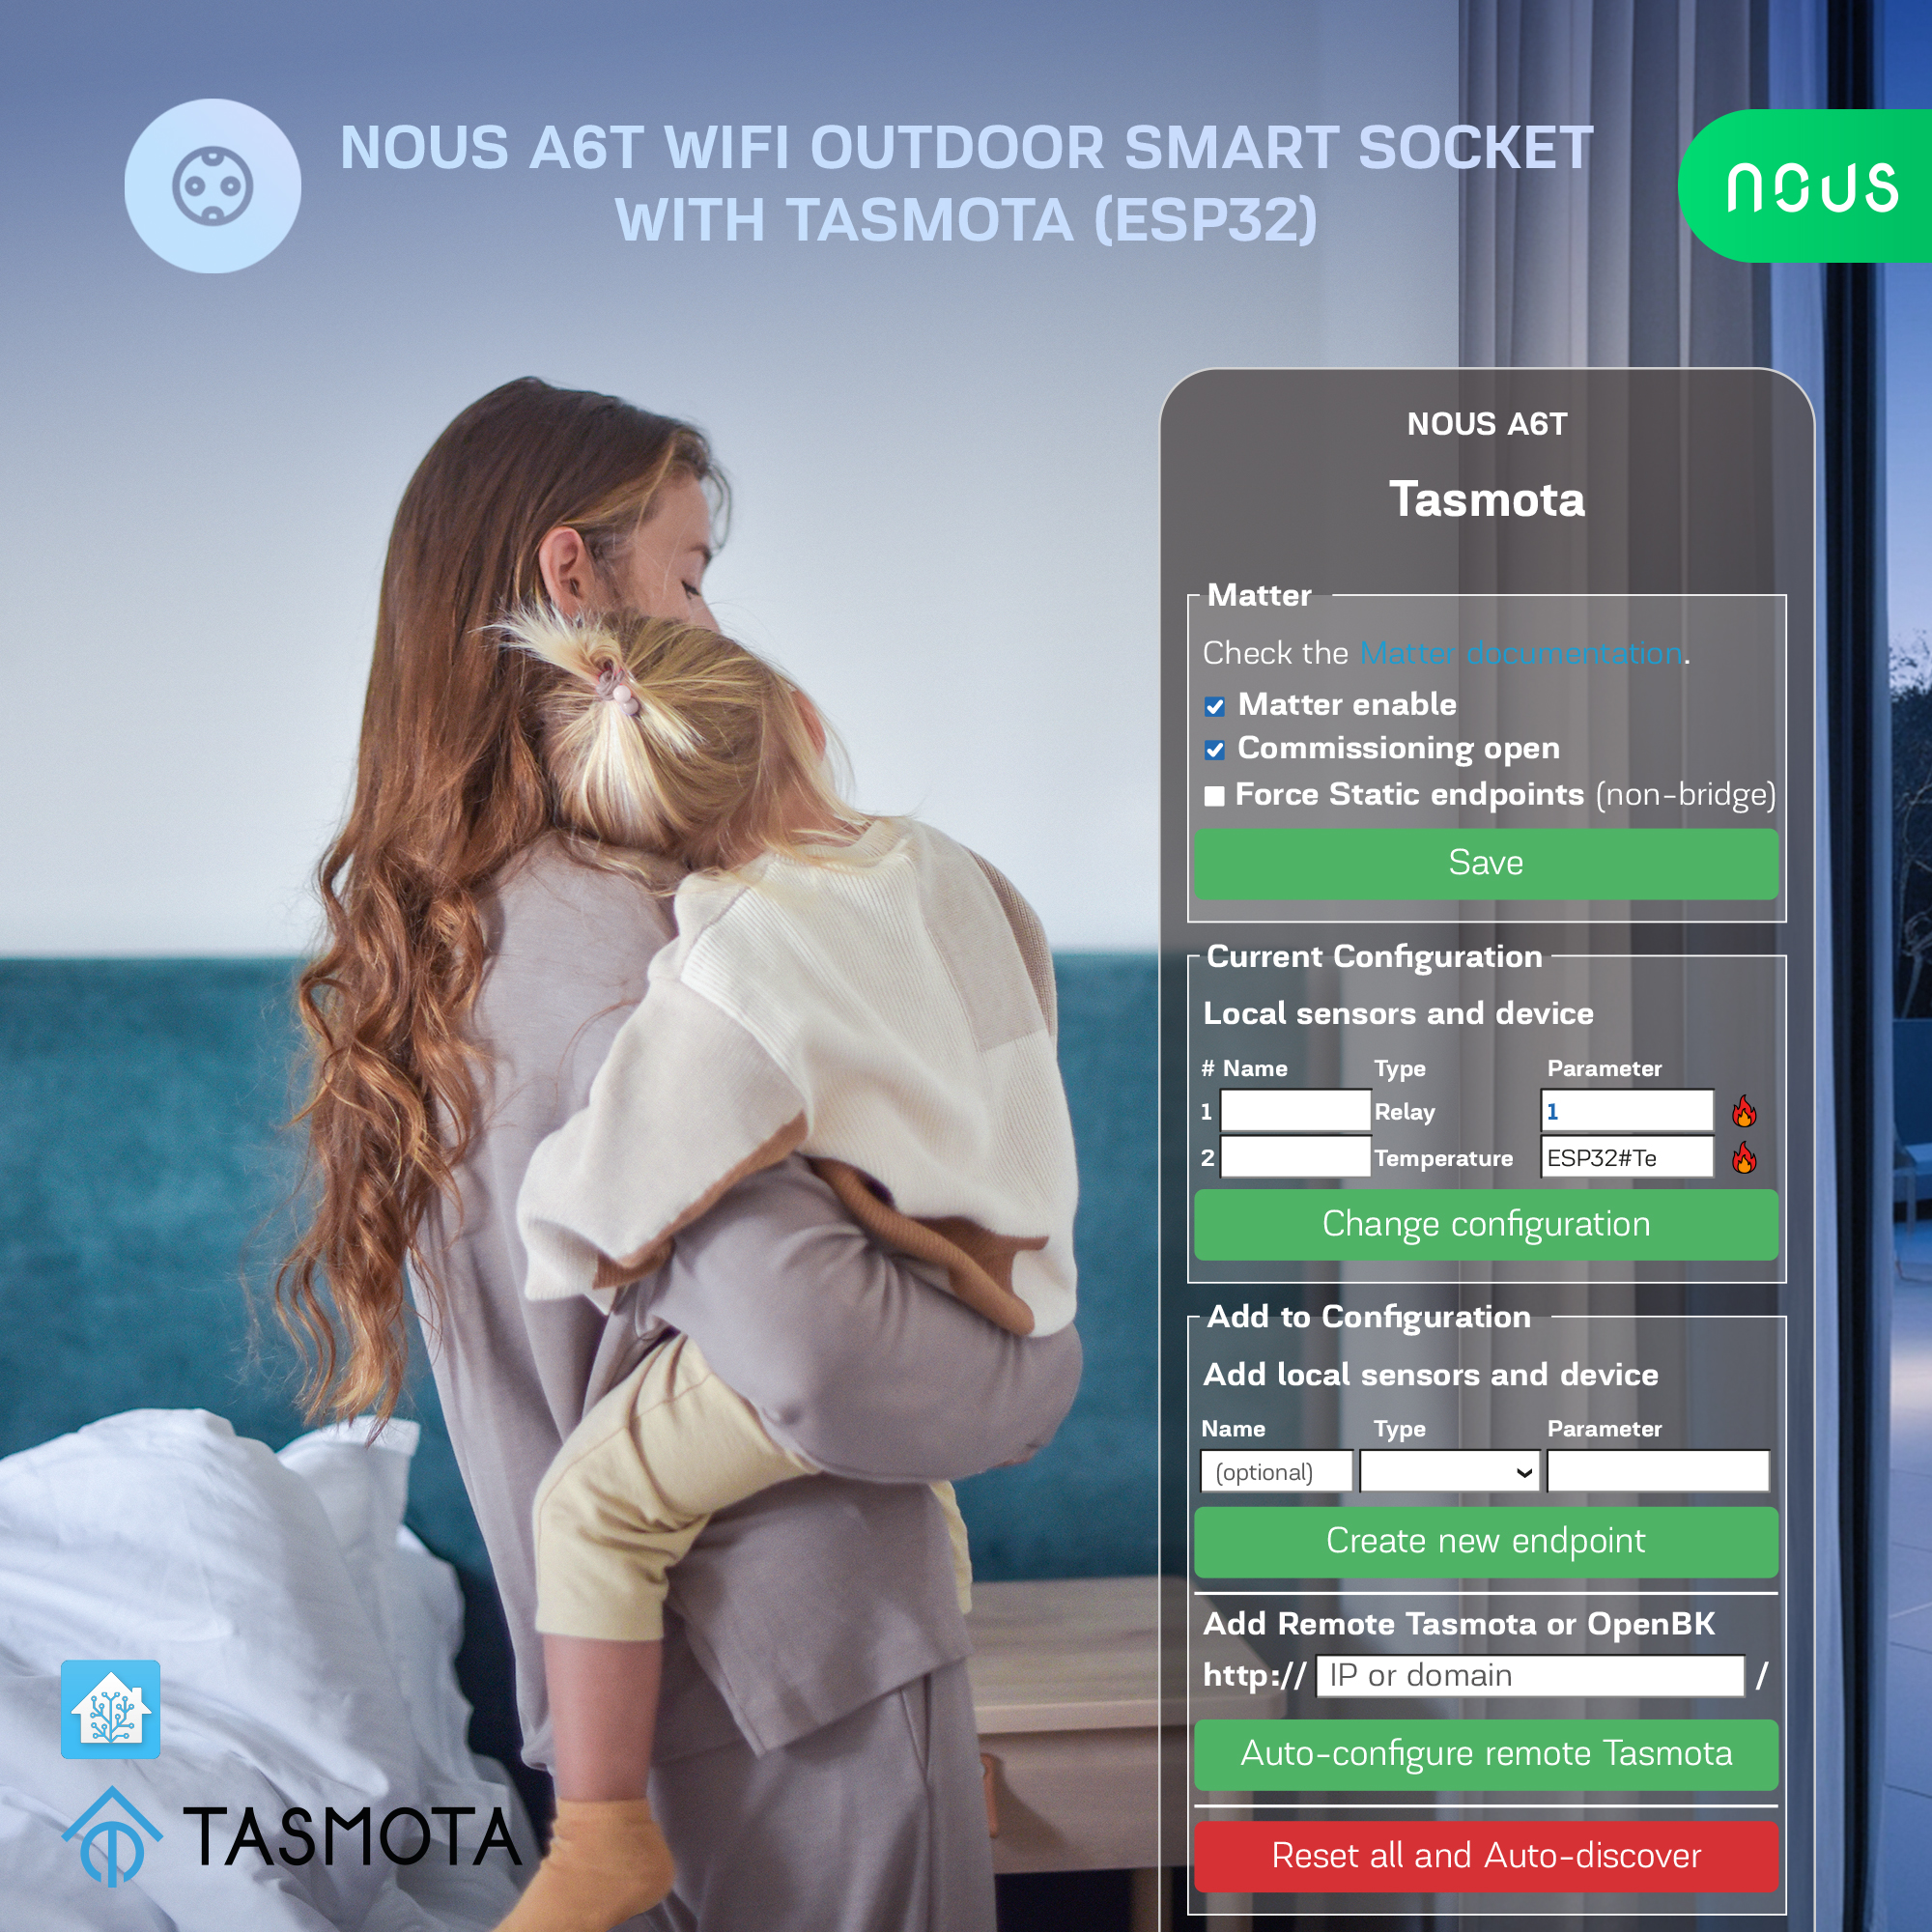
Nous A6T WiFi Outdoor Smart Socket with Tasmota

| Network | |
|---|---|
| Communication standard | WiFi IEEE 802.11b/g/n |
| Protocol | MQTT, Matter |
| Type of wireless transmission | 2.4GHz |
| Control from a smartphone | Web Interface, Home Assistant, with Matter connection: Google Home, Alexa, Apple Home kit, etc |
| Compatibility with voice assistants | Alexa, Google Assistant, Siri after connection to Home Assistant or with Matter connection |
| Frequency range: | 2412 - 2484 MHz |
| Main settings | |
| Brand | NOUS |
| Material | Plastic |
| Special features | Energy Monitoring |
| Electric power | 3840W |
| Certificate | CE, RoHS, RED |
| Specifications | |
| Device dimensions | 58*58*100 mm |
| Body material | Heat resistant plastic |
| Maximum load | 16A peak / 15A continuous |
| Operating temperature | -20 ºC ~ 40 ºC |
| Operating voltage range | 220-240V |
| Level of moisture protection | IP44 |
| Device weight | 109 g |
| Standby power consumption: | 1.3W |
OPERATION MANUAL
 NOTE: Tasmota is not a commercial product and support is limited. You must be willing to independently investigate and resolve potential issues.
Detailed information about connecting, changing settings and modifications is presented on the website " https://tasmota.github.io/docs/ "
description
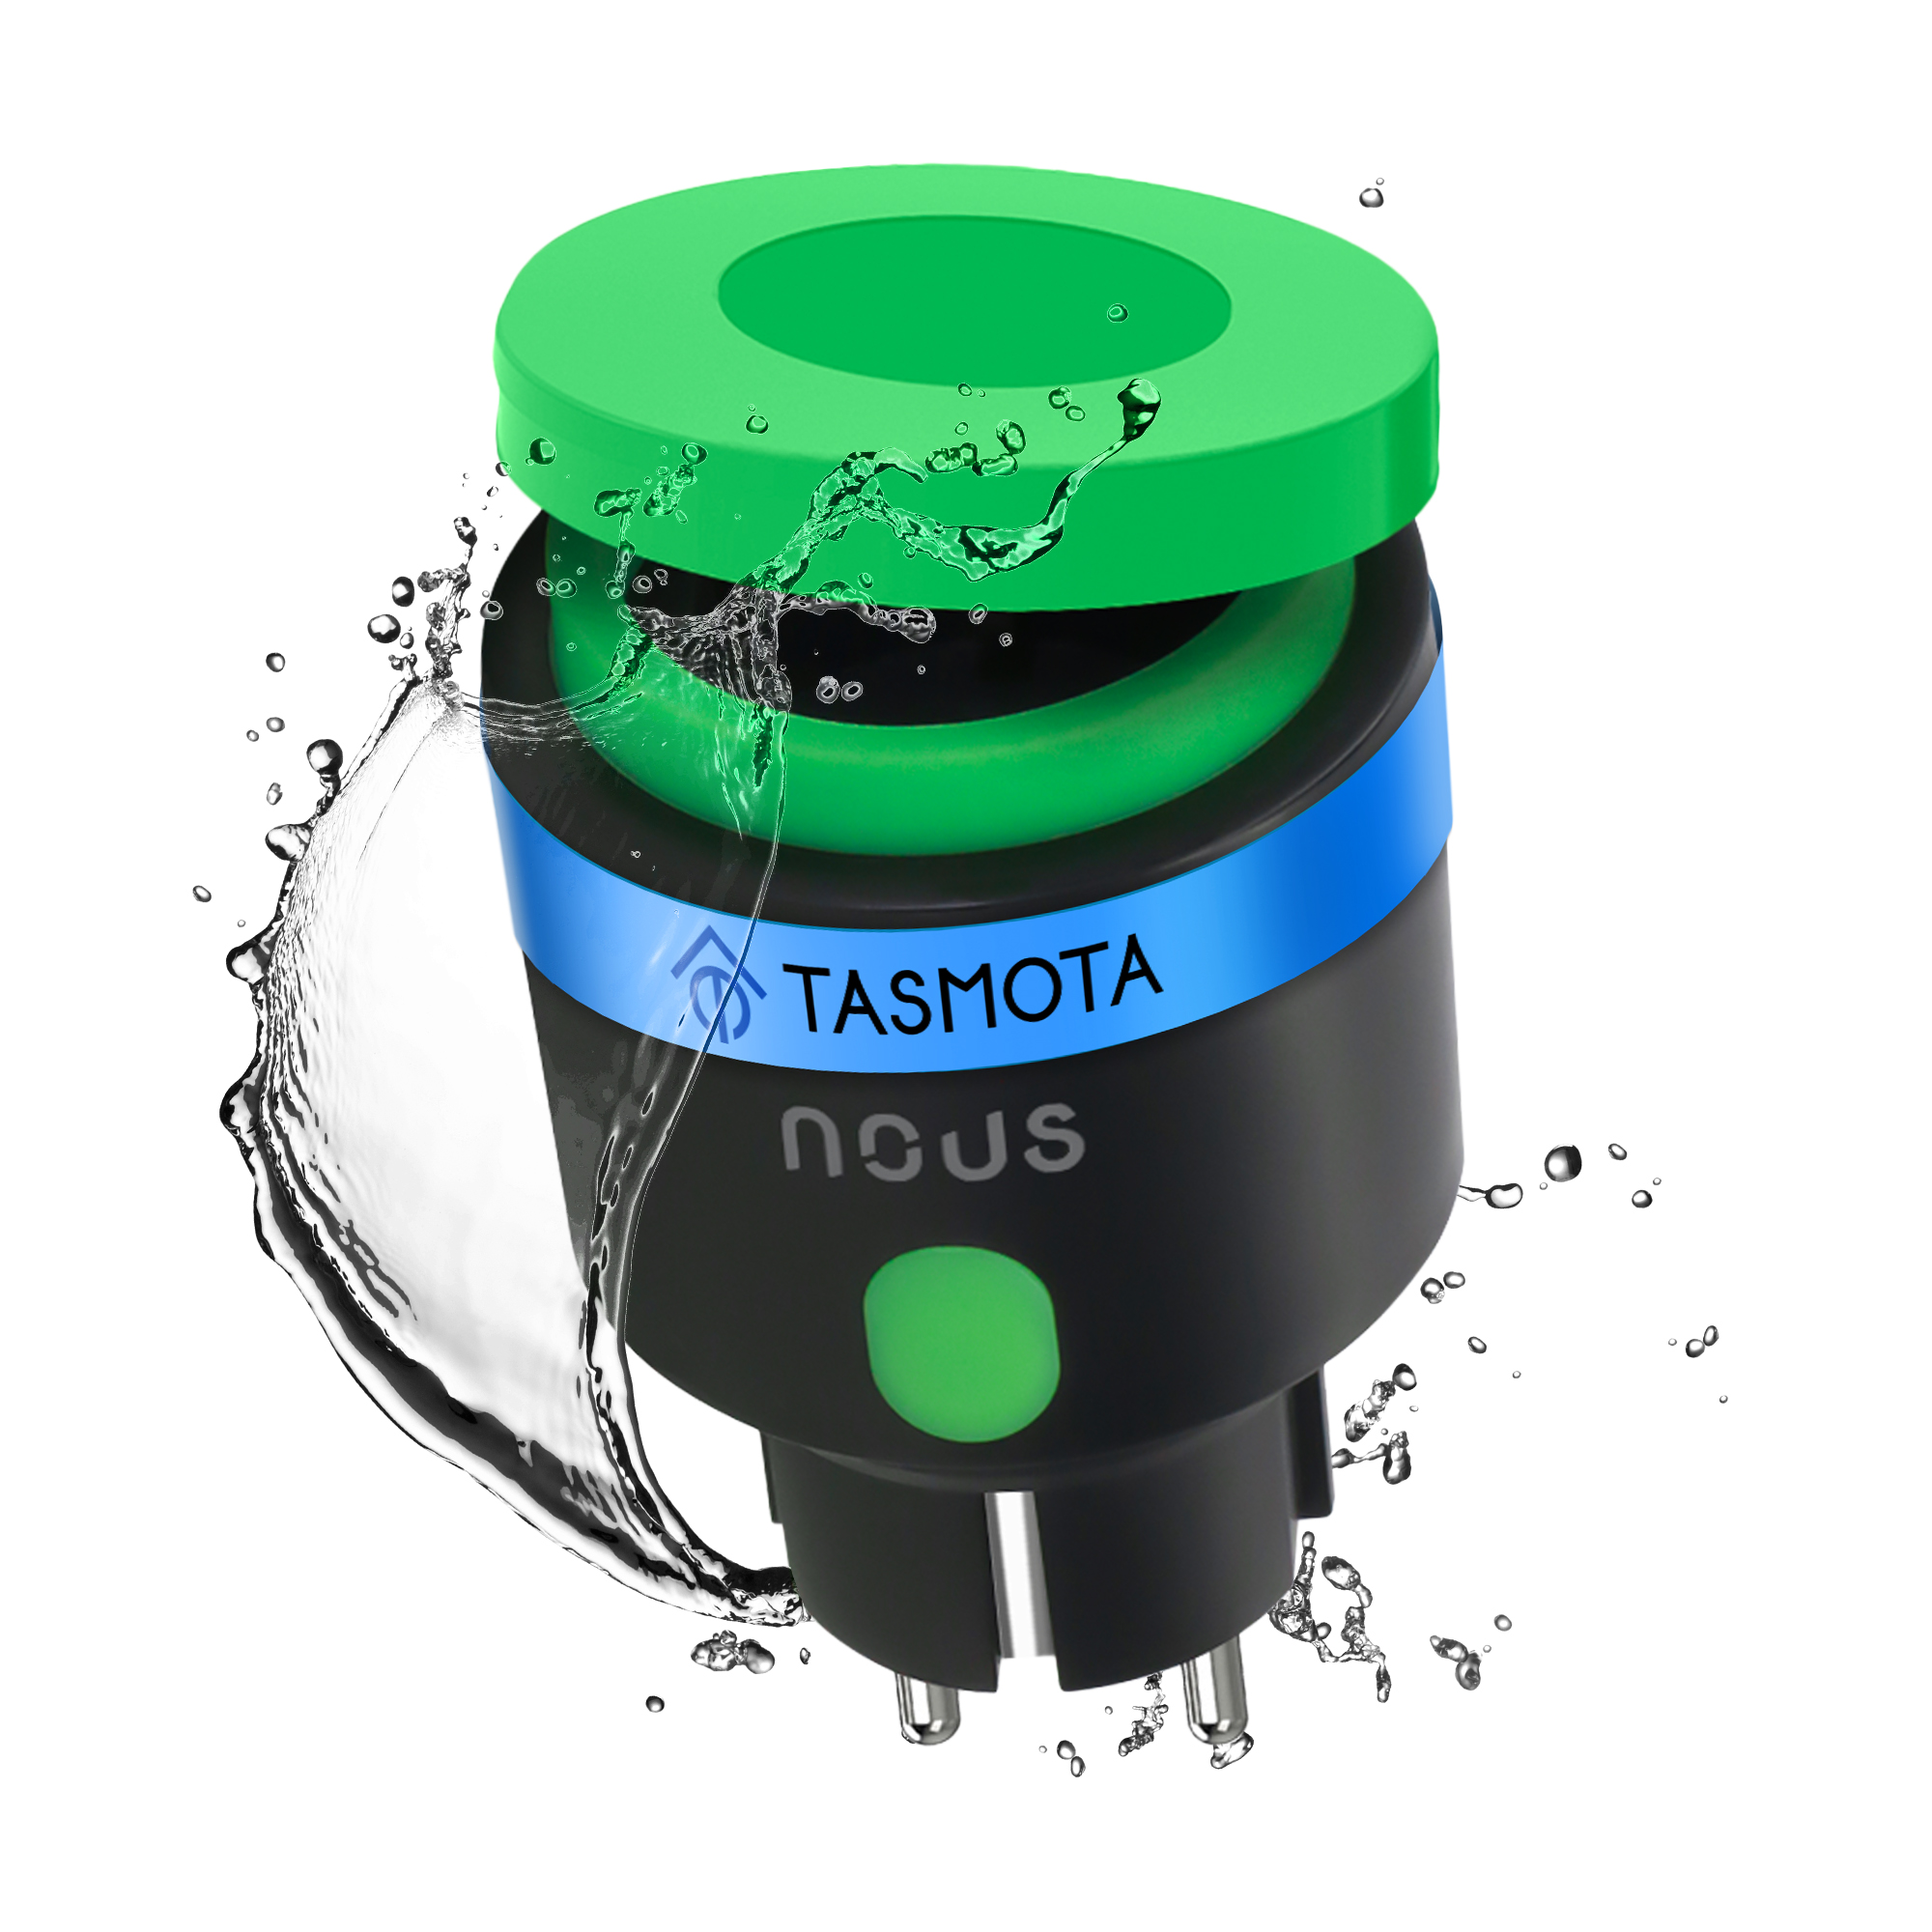
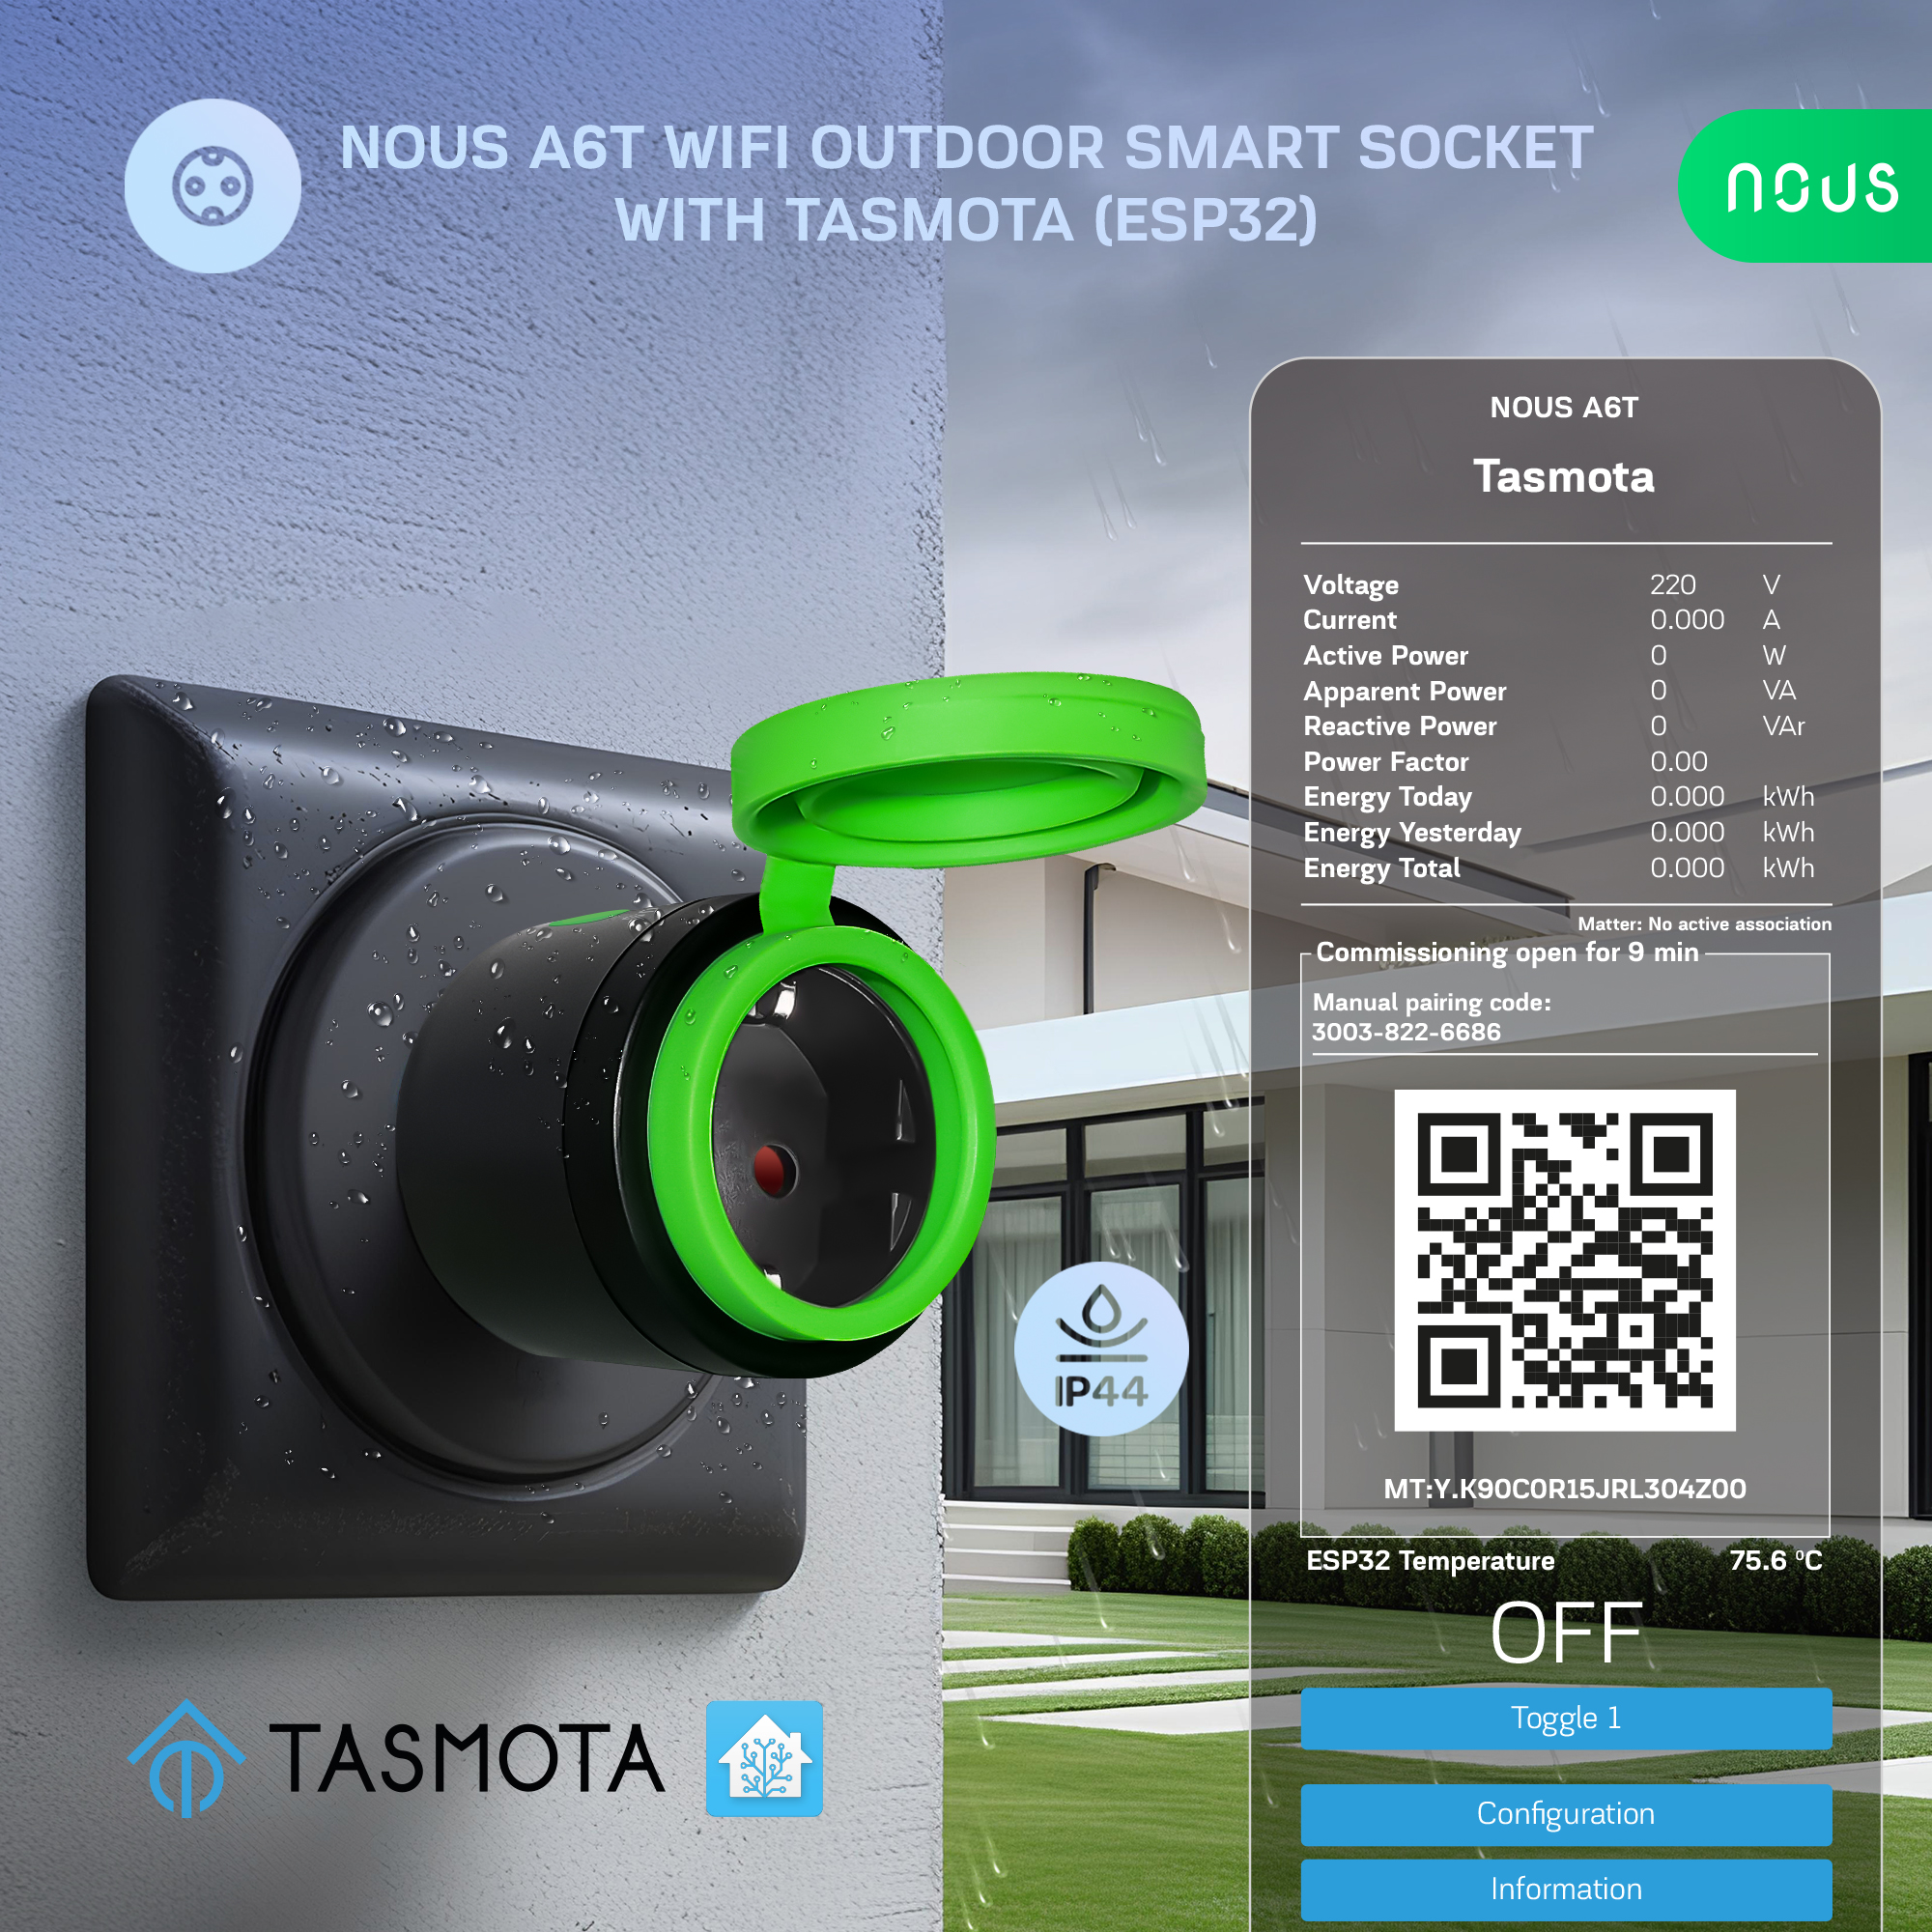
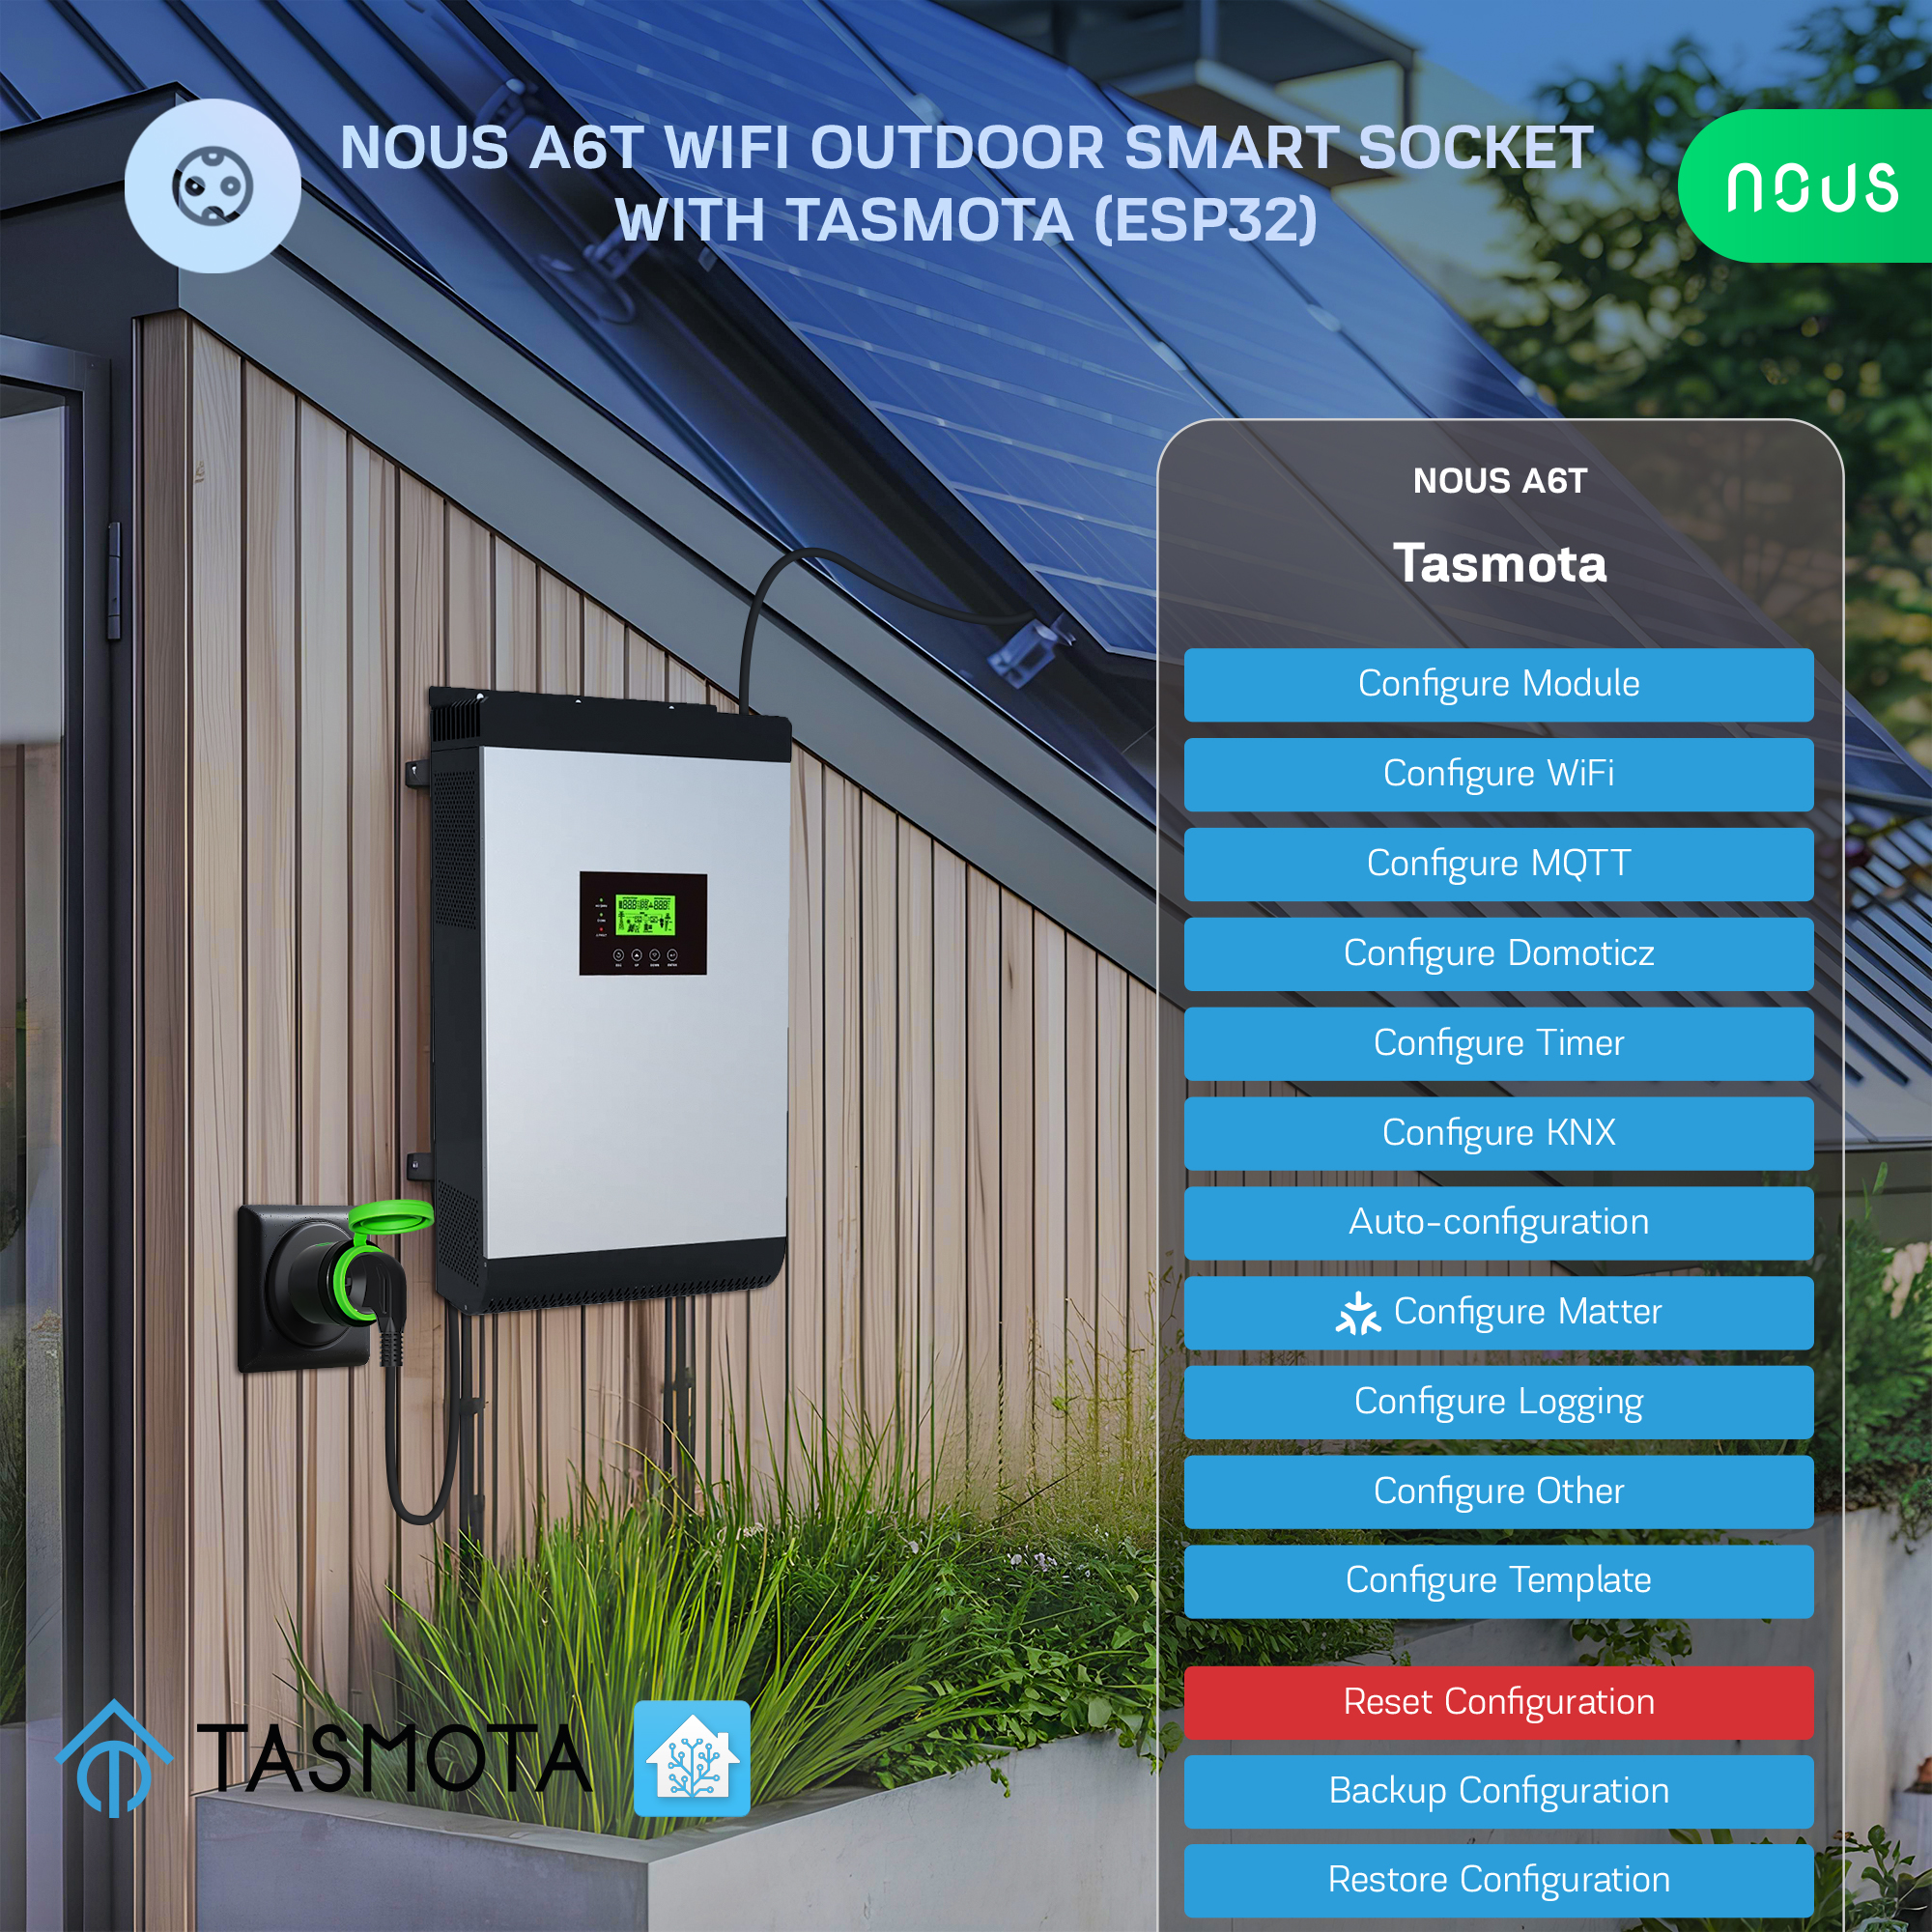
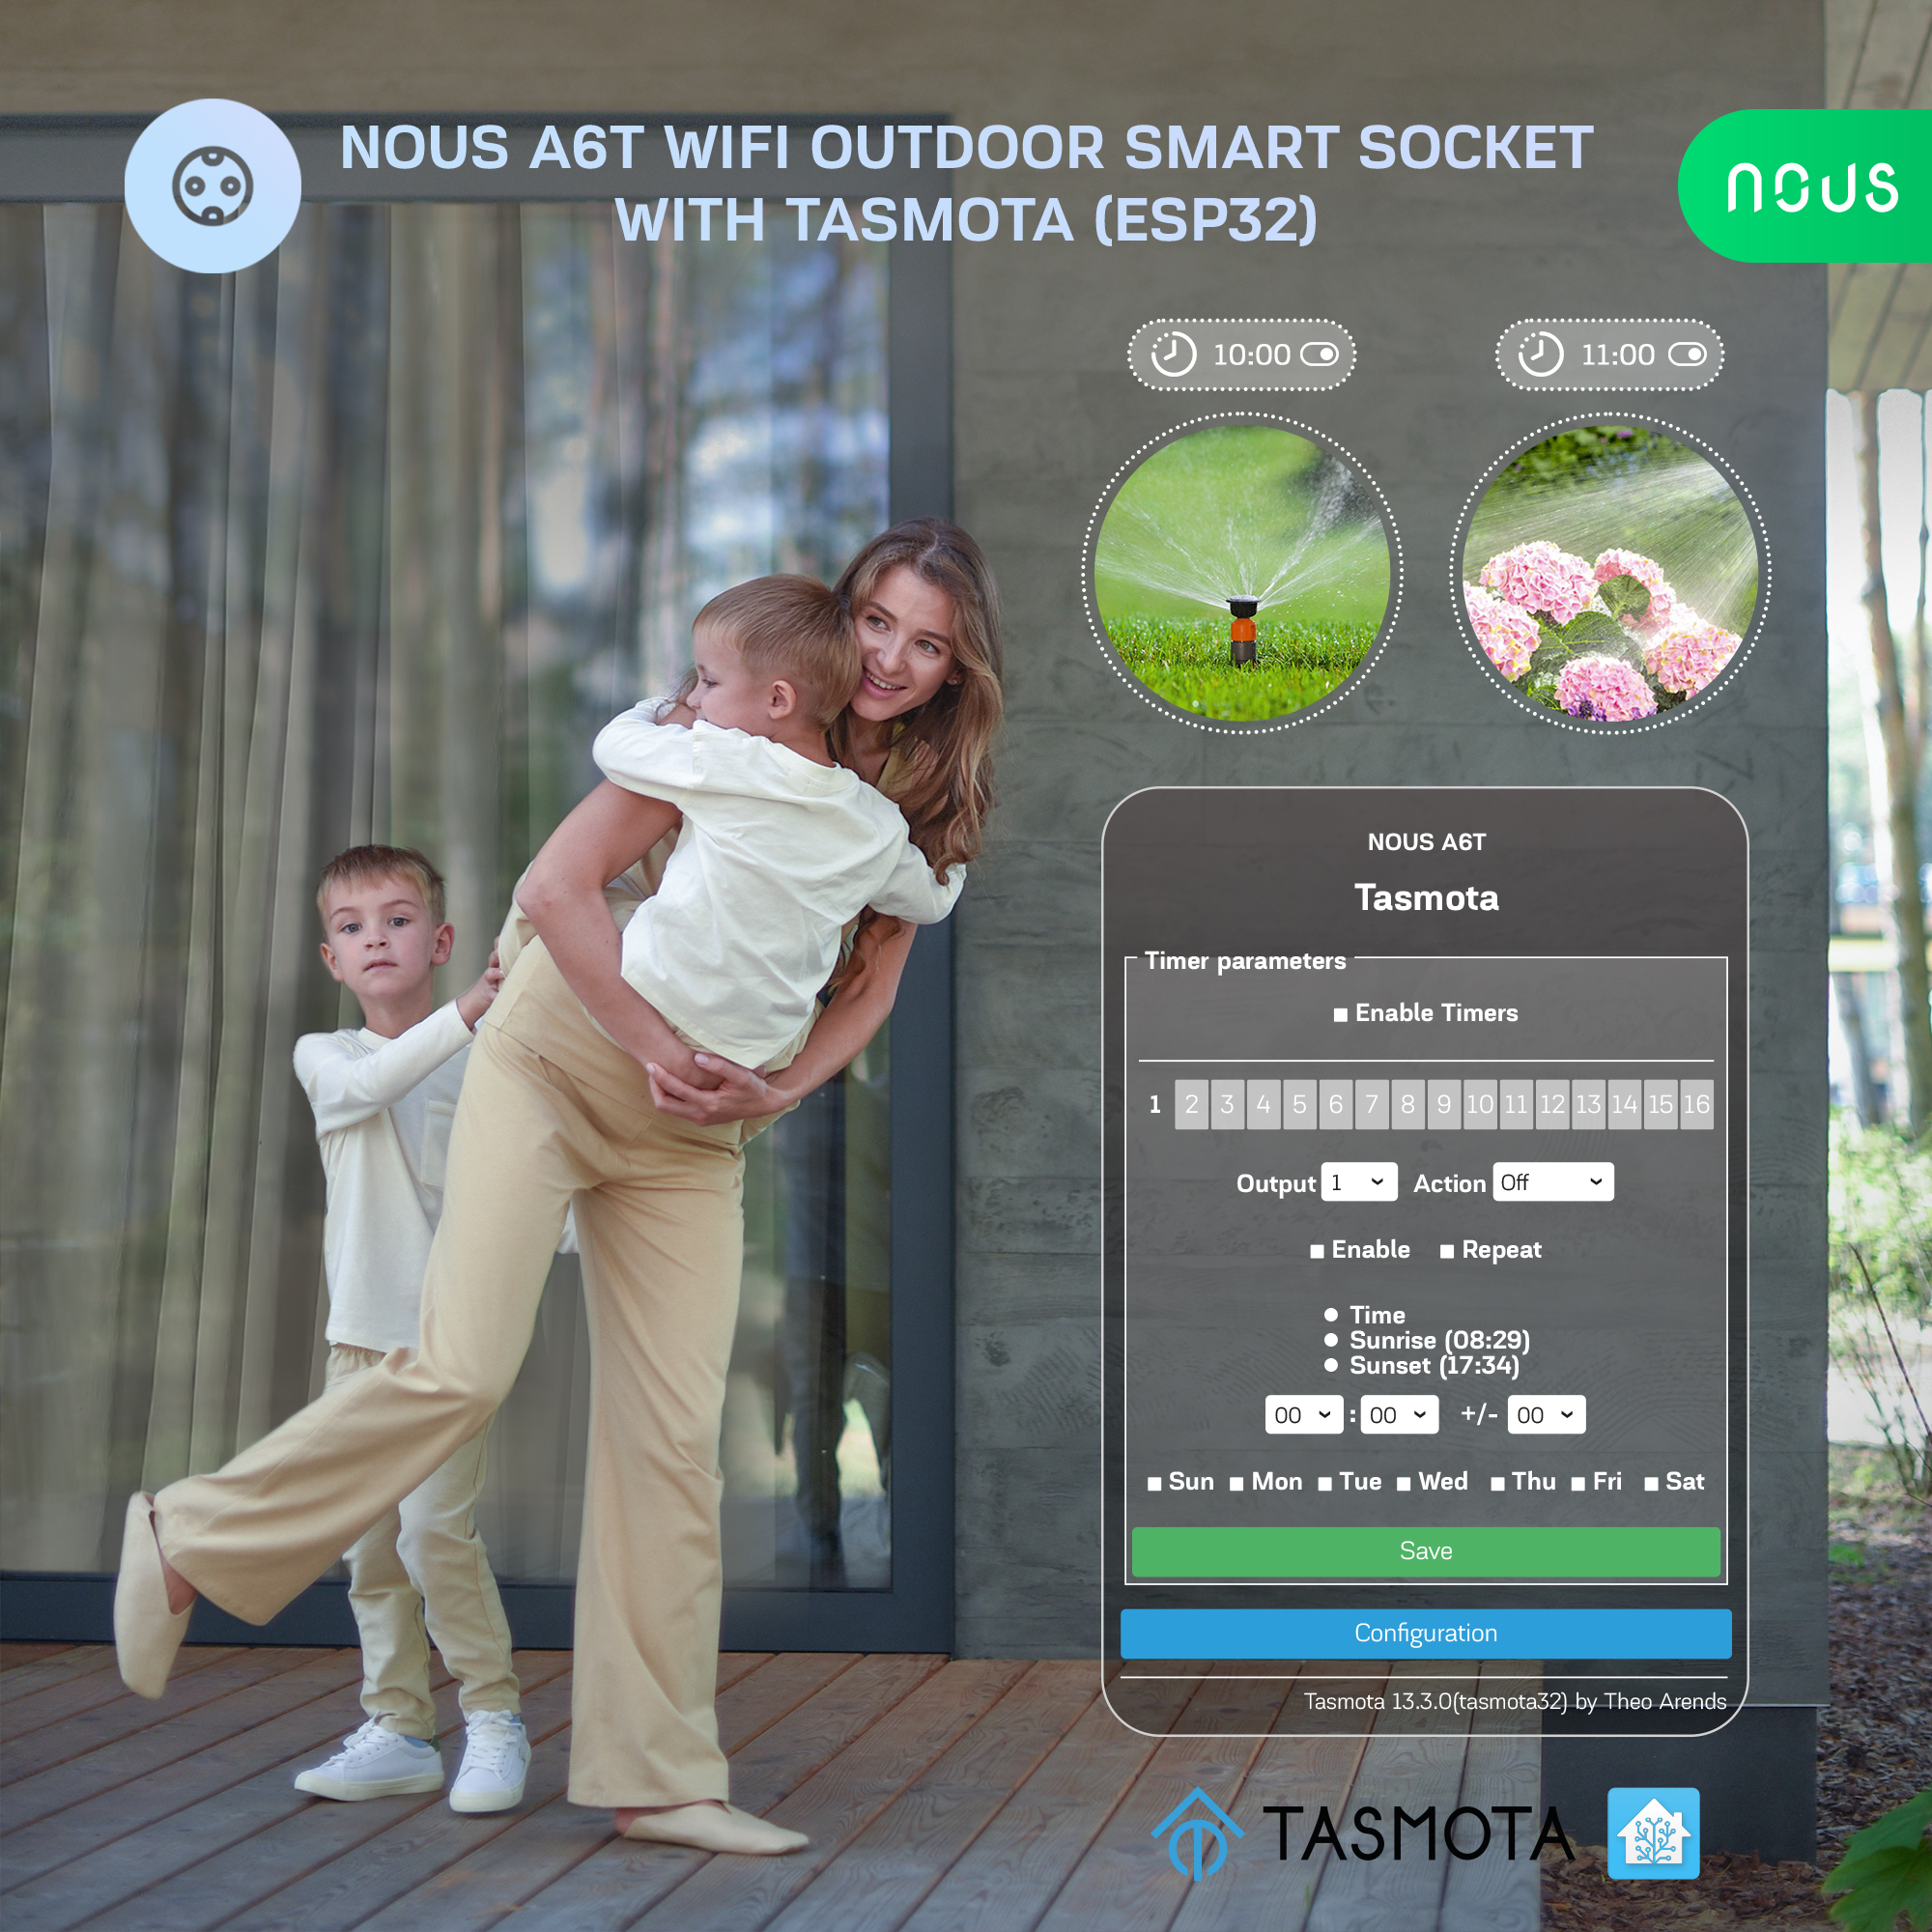
The NOUS A6T smart Wi-Fi socket with Tasmota open software installed (hereinafter referred to as the smart socket) is designed to organize automatic and manual shutdown of electrical appliances on the street, through remote access via a Wi-Fi network, using a smartphone or from a personal computer via the Web interface. Communication with the smart outlet is configured via a Wi-Fi network, for which a wireless Wi-Fi adapter is used. The smart socket is equipped with a mechanical button and a global indication of the device's status. The smart socket is equipped with an electromechanical relay and supports the Matter protocol . The device has an energy monitoring function and a temperature sensor.
ATTENTION: The connection of a smart socket with a Wi-Fi network cannot be guaranteed in all cases, as it depends on many conditions: the quality of the communication channel and intermediate network equipment, the brand and model of the mobile device, the version of the operating system, etc.
PRECAUTIONARY MEASURES
- Read this manual carefully.
- Use the product within the temperature and humidity limits specified in the technical data sheet.
- Do not install the product near heat sources such as radiators, etc.
- Do not allow the device to fall and be subject to mechanical loads.
- Do not use chemically active and abrasive detergents to clean the product. Use a damp flannel cloth for this.
- Do not overload the specified capacity. This may cause short circuit and electric shock.
- Do not disassemble the product yourself - diagnostics and repair of the device must be carried out only in a certified service center.
- Please contact the seller for a replacement if there is damage caused by shipping.
- Please insert the plug into the outlet in proper condition and away from children.
- For safety reasons, insert the plug fully into the outlet when in use.
Design and controls
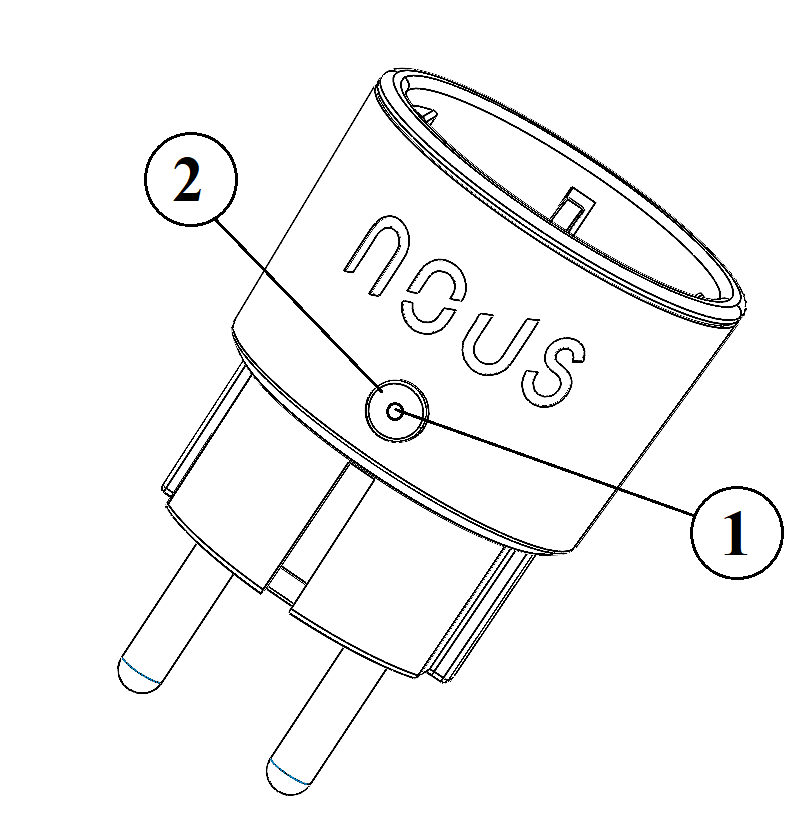
| № | Name | description |
| 1 | Indicator | Shows the current state of the device |
| 2 | Button | A short press of the button switches the device "ON" "OFF". |
Connection
A smartphone or personal PC is required to connect the Nous A8T smart socket.
The procedure for connecting a smart socket to a Wi-Fi network:
| 1 | Make sure that the frequency range of the network to which the device will be connected is 2.4 GHz, otherwise the smart socket will not connect, since the smart socket is not designed to work with 5 GHz Wi-Fi networks; | |
| 2 | Turn on the smart socket to the network. On the PC, the access point "tasmota-xxxxxxxx" should appear in the list of networks, if the access point is not detected, you need to perform a "RESET" according to point 11 | |
| 3 | Connect to hotspot "tasmota-xxxxxxx" | |
| 4 |
After connecting to the access point, the browser will automatically open and go to the link 192.168.4.1, if this operation was not followed, then you need to open the browser and enter 192.168.4.1 in the address input field |
|
| 5 |
On the open page, you need to select your access point and enter its password in the field below and click "Save" |
|
 |
|
|
| 6 | When the connection is complete, the inscription "Successfully connected to Wi-Fi" and the address of your device on the network will appear | |
| 7 | Connect to your Wi-Fi network and go to the address that was specified in point 6 | |
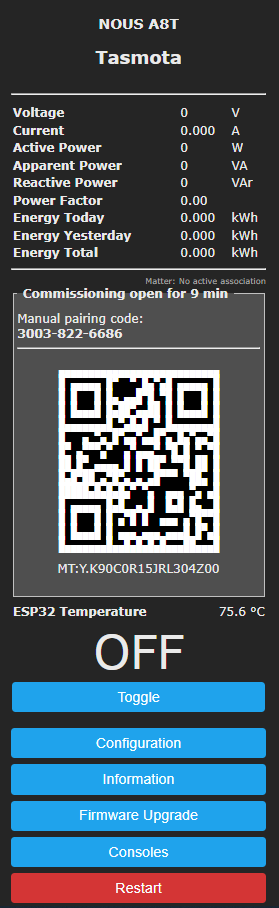
| 8 | You will need to calibrate the device for the power source. You can find how to do it here: https://tasmota.github.io/docs/Power-Monitoring-Calibration/ | |
| 9 |
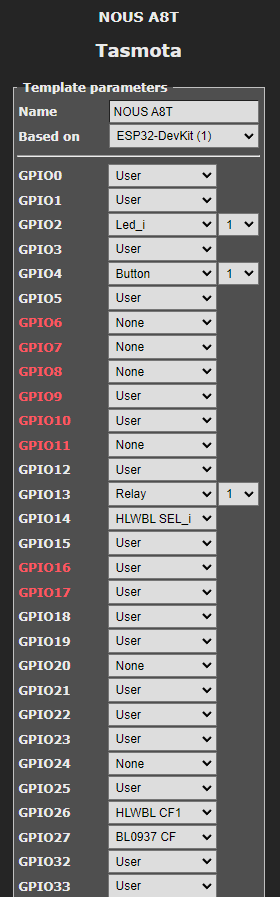
The smart socket is ready for use. The template and rules are already activated, but if you need it later, you can find it below |
|
 |
 |
|
| 10 |
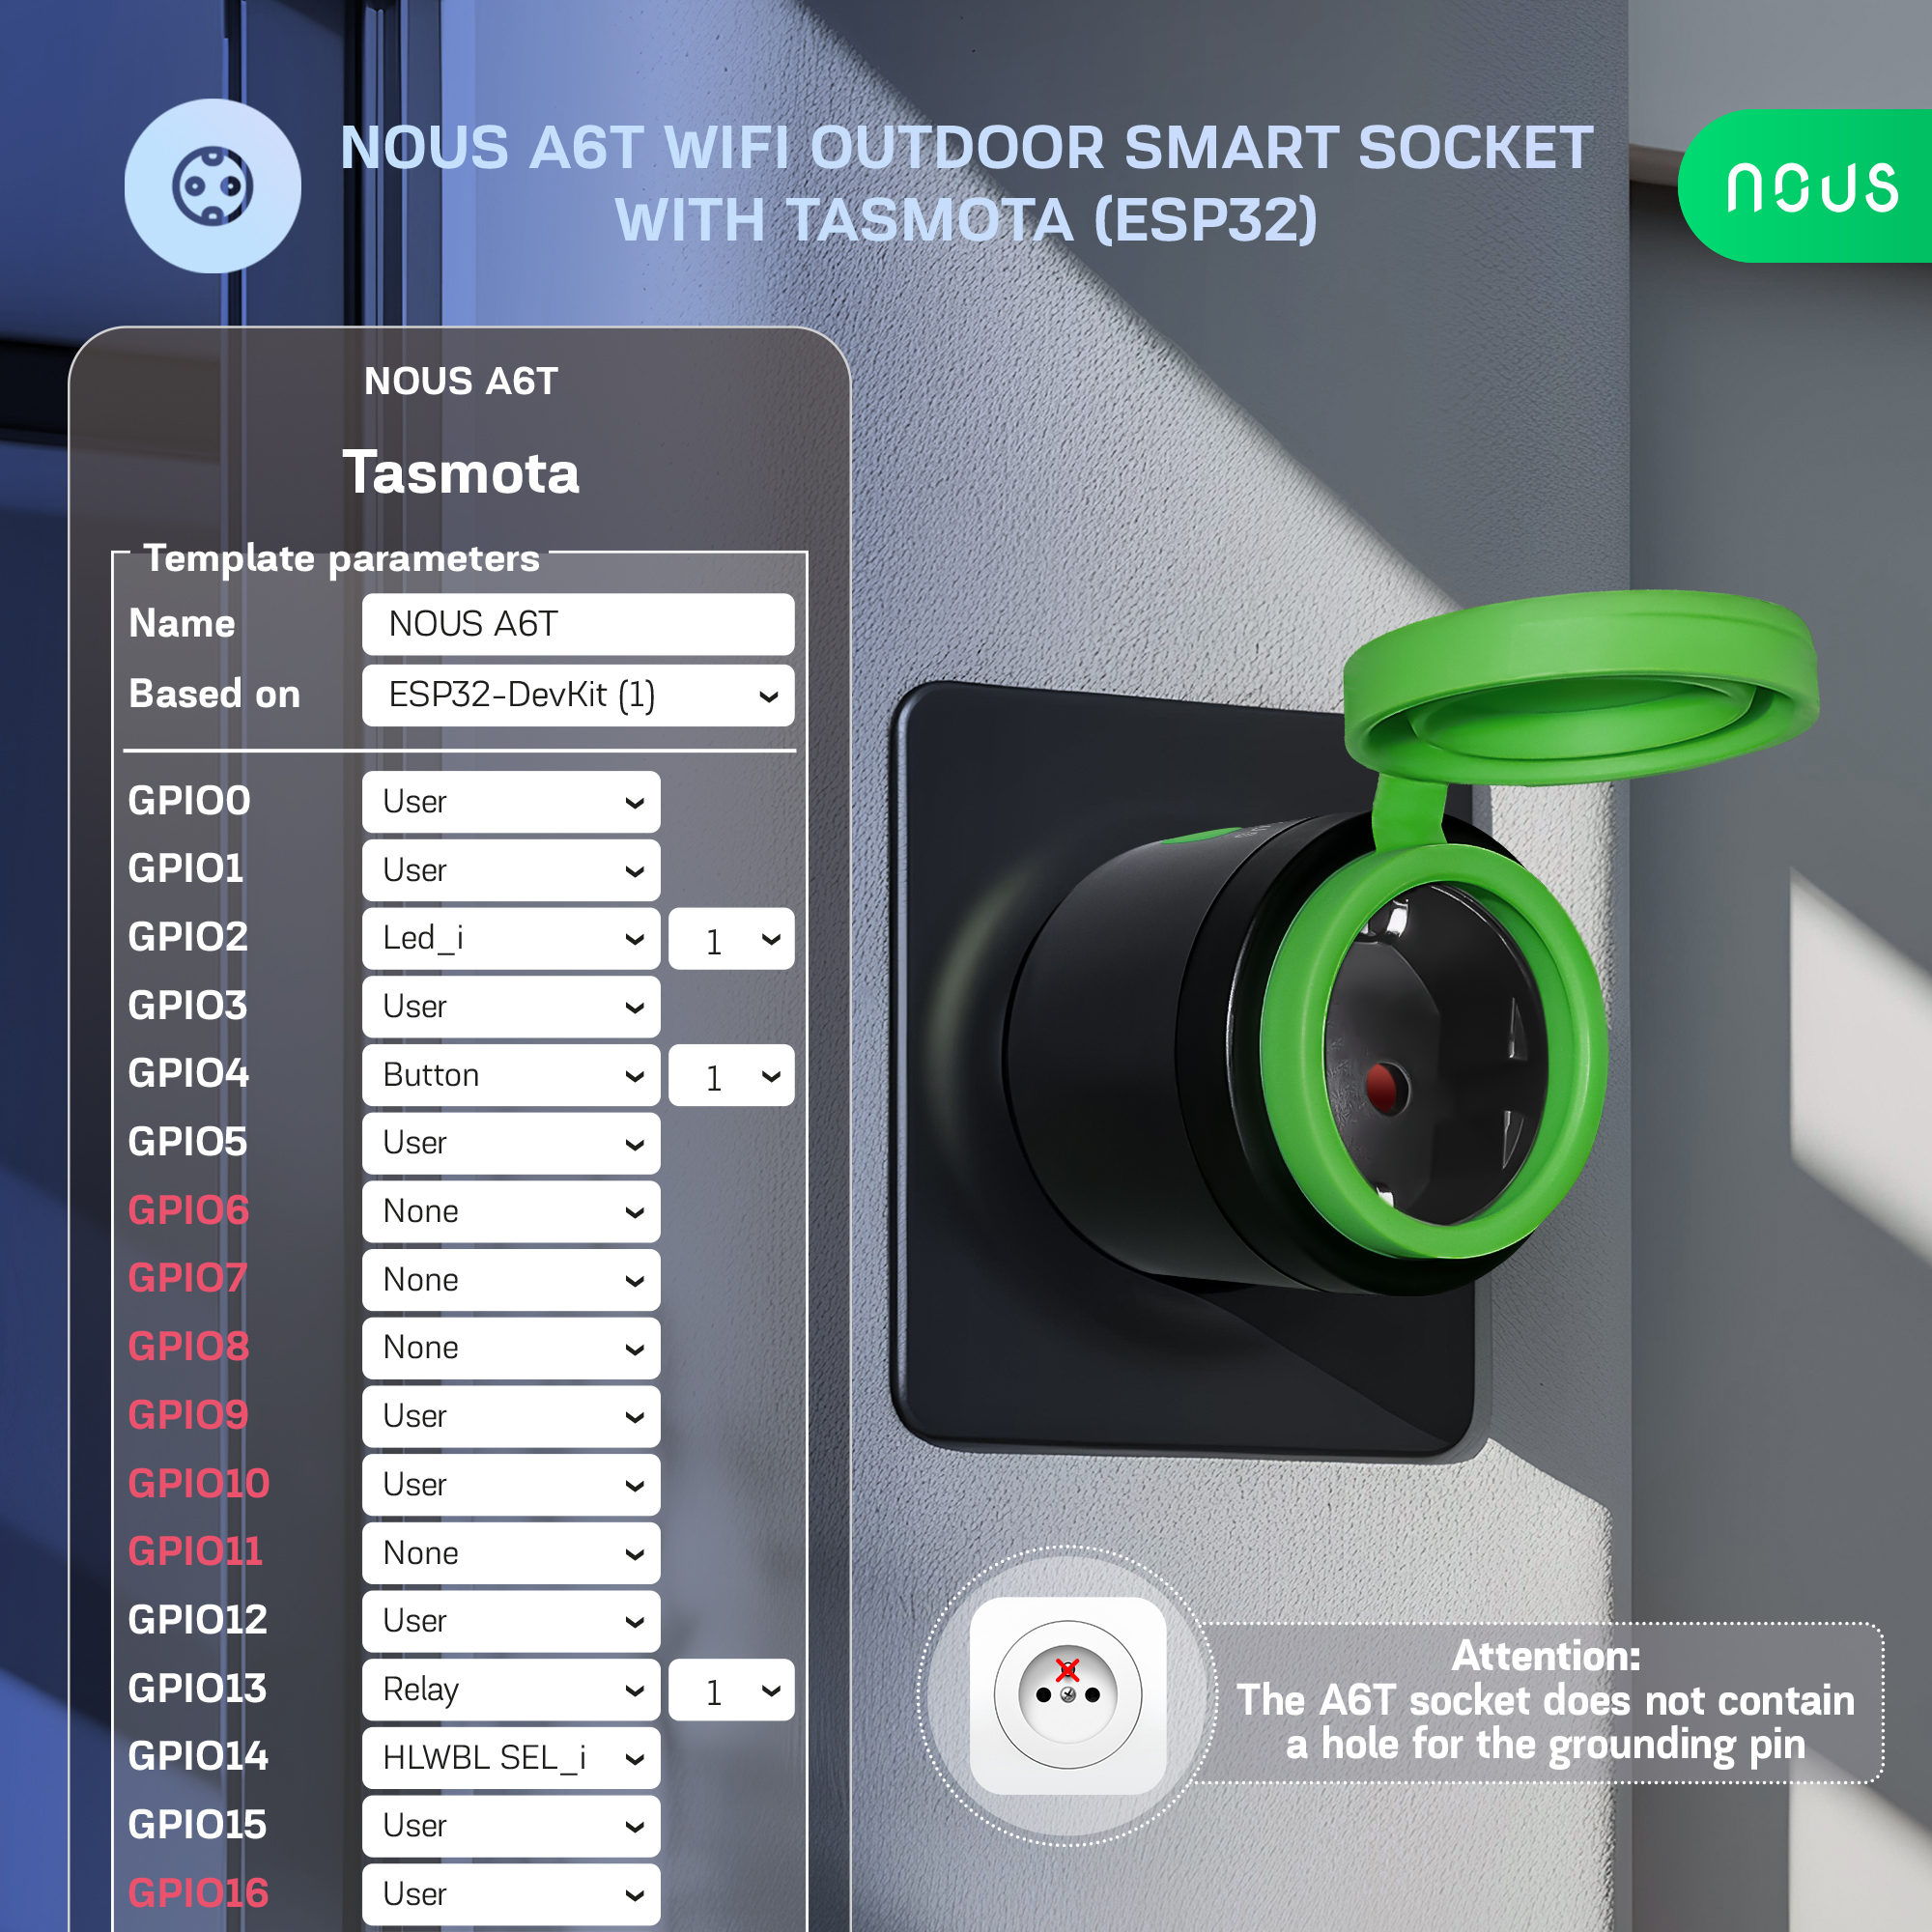
{"NAME":"NOUS A6T","GPIO":[1,1,576,1,32,1,1,1,1,224,2624,1,1,1,1,1,0,1,1,1,0,1,2656,2720,0,0,0,0,1,1,1,1,1,0,0,1],"FLAG":0,"BASE":1}for further configuration, it is necessary to enter the following commands in the console of the device: SetOption21 1 SetOption146 0 The template must be entered in the "Template" field, check the "Activate" box and save the changes:
|
|
| 11 |
To reset the smart socket to factory settings, you need: Plug and unplug the device 6 times and leave it on for the 7th - the LED should start flashing, this means the outlet is ready to be plugged in again; if there is access to the web interface, then type " reset 1" in the console and press "enter" |
|
| 12 |
To connect the device to smart home systems using the Matter protocol, read the following information: |
|
|
Tasmota is a highly extensible and flexible application that can be integrated with: Alexa, AWS IoT, Domoticz, Home Assistant, Homebridge, HomeSeer, IP Symcon, KNX, NodeRed, nymea, OctoPrint, openHAB, Otto, IOBroker, Mozilla WebThings Adapter, SmartThings, Tasmohab, Homematic ip тощо. for more information see here: https://tasmota.github.io/docs/Integrations/ |
||


INSTRUKCJA OBSŁUGI
UWAGA: Tasmota nie jest produktem komercyjnym i wsparcie jest ograniczone. Musisz chcieć niezależnie zbadać i rozwiązać potencjalne problemy.
Szczegółowe informacje na temat podłączenia, zmiany ustawień i modyfikacji znajdują się na stronie internetowej „ https://tasmota.github.io/docs/ ”
opis
Inteligentne gniazdo Wi-Fi NOUS A6T z zainstalowanym oprogramowaniem Tasmota open (zwane dalej inteligentnym gniazdem) przeznaczone jest do organizowania automatycznego i ręcznego wyłączania urządzeń elektrycznych na ulicy, poprzez zdalny dostęp poprzez sieć Wi-Fi, za pomocą smartfona lub z komputera osobistego poprzez interfejs WWW. Komunikacja z inteligentnym gniazdkiem konfigurowana jest poprzez sieć Wi-Fi, do obsługi której wykorzystywany jest bezprzewodowy adapter Wi-Fi. Inteligentne gniazdo wyposażone jest w mechaniczny przycisk oraz globalną sygnalizację stanu urządzenia. Inteligentne gniazdo wyposażone jest w przekaźnik elektromechaniczny i obsługuje protokół Matter . Urządzenie posiada funkcję monitorowania energii oraz czujnik temperatury.
UWAGA: Nie w każdym przypadku można zagwarantować połączenie inteligentnego gniazdka z siecią Wi-Fi, gdyż zależy to od wielu warunków: jakości kanału komunikacji i wyposażenia sieci pośredniczącej, marki i modelu urządzenia mobilnego, wersji systemu operacyjnego itp.
ŚRODKI OSTROŻNOŚCI
- Przeczytaj uważnie niniejszą instrukcję.
- Używaj produktu w zakresie temperatur i wilgotności podanych w karcie technicznej.
- Nie instaluj produktu w pobliżu źródeł ciepła, takich jak grzejniki itp.
- Nie dopuścić do upadku urządzenia i narażania go na obciążenia mechaniczne.
- Do czyszczenia produktu nie należy używać chemicznie aktywnych i ściernych detergentów. Użyj do tego wilgotnej szmatki flanelowej.
- Nie przeciążaj określonej pojemności. Może to spowodować zwarcie i porażenie prądem.
- Nie demontuj produktu samodzielnie – diagnostykę i naprawę urządzenia należy przeprowadzać wyłącznie w certyfikowanym serwisie.
- Jeśli doszło do uszkodzeń spowodowanych wysyłką, skontaktuj się ze sprzedawcą w celu wymiany.
- Proszę włożyć wtyczkę do gniazdka w odpowiednim stanie i z dala od dzieci.
- Ze względów bezpieczeństwa, podczas użytkowania, wtyczkę należy całkowicie włożyć do gniazdka.
Projektowanie i sterowanie
| Numer | Nazwa | opis |
| 1 | Wskaźnik | Pokazuje aktualny stan urządzenia |
| 2 | Przycisk | Krótkie naciśnięcie przycisku powoduje włączenie urządzenia „ON” i „OFF”. |
Połączenie
Do podłączenia inteligentnego gniazdka Nous A8T wymagany jest smartfon lub komputer osobisty.
Procedura podłączenia inteligentnego gniazda do sieci Wi-Fi:
| 1 | Upewnij się, że zakres częstotliwości sieci, do której zostanie podłączone urządzenie, wynosi 2,4 GHz, w przeciwnym razie inteligentne gniazdo nie połączy się, ponieważ inteligentne gniazdo nie jest przeznaczone do pracy z sieciami Wi-Fi 5 GHz; | |
| 2 | Włącz inteligentne gniazdo do sieci. Na komputerze na liście sieci powinien pojawić się punkt dostępowy „tasmota-xxxxxxxx”, jeśli punkt dostępowy nie zostanie wykryty, należy wykonać „RESET” zgodnie z punktem 11 | |
| 3 | Połącz się z hotspotem „tasmota-xxxxxxx” | |
| 4 |
Po podłączeniu do punktu dostępowego przeglądarka automatycznie otworzy się i przejdzie do łącza 192.168.4.1, jeśli ta operacja nie została wykonana, należy otworzyć przeglądarkę i wpisać 192.168.4.1 w polu wprowadzania adresu |
|
| 5 |
Na otwartej stronie musisz wybrać swój punkt dostępu, wprowadzić jego hasło w polu poniżej i kliknąć „Zapisz” |
|
|
|
|
| 6 | Po nawiązaniu połączenia pojawi się napis „Pomyślnie połączono z Wi-Fi” oraz adres Twojego urządzenia w sieci | |
| 7 | Połącz się ze swoją siecią Wi-Fi i przejdź pod adres podany w punkcie 6 | |
| 8 | Należy skalibrować urządzenie pod kątem źródła zasilania. Jak to zrobić, znajdziesz tutaj: https://tasmota.github.io/docs/Power-Monitoring-Calibration/ | |
| 9 |
Inteligentne gniazdo jest gotowe do użycia. Szablon i reguły są już aktywowane, ale jeśli będziesz ich potrzebować później, znajdziesz je poniżej |
|
|
|
|
| 10 |
{"NAZWA":"NOUS A6T","GPIO":[1,1,576,1,32,1,1,1,1,224,2624,1,1,1,1,1,0,1,1,1,0,1,2656,2720,0,0,0,0,1,1,1,1,1,0,0,1],"FLAGA":0,"PODSTAWA":1}w celu dalszej konfiguracji należy wpisać w konsoli urządzenia następujące polecenia: UstawOpcję21 1 UstawOpcję146 0 Szablon należy wprowadzić w polu „Szablon”, zaznaczyć pole „Aktywuj” i zapisać zmiany:
|
|
| 11 |
Aby zresetować inteligentne gniazdo do ustawień fabrycznych, potrzebujesz: Podłącz i odłącz urządzenie 6 razy i pozostaw włączone 7 razy - dioda LED powinna zacząć migać, co oznacza, że gniazdko jest gotowe do ponownego podłączenia; jeśli jest dostęp do interfejsu internetowego, wpisz „ reset 1” w konsoli i naciśnij „enter” |
|
| 12 |
Aby połączyć urządzenie z systemami inteligentnego domu za pomocą protokołu Matter zapoznaj się z poniższymi informacjami: |
|
|
Tasmota to wysoce rozszerzalna i elastyczna aplikacja, którą można zintegrować z: Alexa, AWS IoT, Domoticz, Home Assistant, Homebridge, HomeSeer, IP Symcon, KNX, NodeRed, nymea, OctoPrint, openHAB, Otto, IOBroker, Mozilla WebThings Adapter, SmartThings, Tasmohab, Homematic ip i tak dalej. więcej informacji znajdziesz tutaj: https://tasmota.github.io/docs/Integrations/ |
||
BEDIENUNGSANLEITUNG
HINWEIS: Tasmota ist kein kommerzielles Produkt und der Support ist begrenzt. Sie müssen bereit sein, mögliche Probleme selbstständig zu untersuchen und zu lösen.
Detaillierte Informationen zum Verbinden, Ändern von Einstellungen und Modifikationen finden Sie auf der Website „ https://tasmota.github.io/docs/ “.
Beschreibung
Die intelligente Wi-Fi-Steckdose NOUS A6T mit installierter offener Tasmota-Software (im Folgenden als intelligente Steckdose bezeichnet ) ist für die Organisation der automatischen und manuellen Abschaltung von Elektrogeräten auf der Straße durch Fernzugriff über ein Wi-Fi-Netzwerk mit einem Smartphone konzipiert oder von einem PC über die Webschnittstelle. Die Kommunikation mit der Smart -Steckdose erfolgt über ein Wi-Fi-Netzwerk, für das ein drahtloser Wi-Fi-Adapter verwendet wird. Die Smart -Steckdose ist mit einem mechanischen Knopf und einer globalen Anzeige des Gerätestatus ausgestattet. Die Smart -Steckdose ist mit einem elektromechanischen Relais ausgestattet und unterstützt das Matter -Protokoll . Das Gerät verfügt über eine Energieüberwachungsfunktion und einen Temperatursensor.
ACHTUNG: Die Verbindung einer Smart-Steckdose mit einem Wi-Fi-Netzwerk kann nicht in allen Fällen garantiert werden, da sie von vielen Bedingungen abhängt: der Qualität des Kommunikationskanals und der zwischengeschalteten Netzwerkausrüstung, der Marke und dem Modell des Mobilgeräts, der Version des Betriebssystems usw.
VORSICHTSMASSNAHMEN
- Lesen Sie dieses Handbuch sorgfältig durch.
- Verwenden Sie das Produkt innerhalb der im technischen Datenblatt angegebenen Temperatur- und Luftfeuchtigkeitsgrenzen.
- Installieren Sie das Produkt nicht in der Nähe von Wärmequellen wie Heizkörpern usw.
- Lassen Sie das Gerät nicht fallen und keiner mechanischen Belastung aussetzen.
- Verwenden Sie zum Reinigen des Produkts keine chemisch aktiven und scheuernden Reinigungsmittel. Benutzen Sie hierfür ein feuchtes Flanelltuch.
- Überlasten Sie nicht die angegebene Kapazität. Dies kann zu Kurzschlüssen und Stromschlägen führen.
- Zerlegen Sie das Produkt nicht selbst – Diagnose und Reparatur des Geräts dürfen nur in einem zertifizierten Servicecenter durchgeführt werden.
- Bei Transportschäden wenden Sie sich bitte an den Verkäufer, um Ersatz zu erhalten.
- Bitte stecken Sie den Stecker in ordnungsgemäßem Zustand und außerhalb der Reichweite von Kindern in die Steckdose.
- Aus Sicherheitsgründen stecken Sie den Stecker während des Gebrauchs vollständig in die Steckdose.
Design und Steuerung
| Nr. | Name | Beschreibung |
| 1 | Indikator | Zeigt den aktuellen Zustand des Geräts an |
| 2 | Taste | Ein kurzer Tastendruck schaltet das Gerät „AN“ „AUS“. |
Verbindung
Zum Anschließen der Nous A8T Smart-Steckdose ist ein Smartphone oder ein persönlicher PC erforderlich.
Das Verfahren zum Anschließen einer Smart-Steckdose an ein Wi-Fi-Netzwerk:
| 1 | Stellen Sie sicher, dass der Frequenzbereich des Netzwerks, mit dem das Gerät verbunden wird, 2,4 GHz beträgt. Andernfalls kann die Smart-Steckdose keine Verbindung herstellen, da die Smart- Steckdose nicht für die Verwendung mit 5-GHz-WLAN-Netzwerken ausgelegt ist. | |
| 2 | Schalten Sie die Smart- Steckdose mit dem Netzwerk ein. Auf dem PC sollte der Access Point „tasmota-xxxxxxxx“ in der Liste der Netzwerke erscheinen, sollte der Access Point nicht erkannt werden, müssen Sie einen „RESET“ gemäß Punkt 11 durchführen | |
| 3 | Mit Hotspot „tasmota-xxxxxxx“ verbinden | |
| 4 |
Nach der Verbindung mit dem Zugangspunkt öffnet sich der Browser automatisch und geht zum Link 192.168.4.1. Wenn dieser Vorgang nicht befolgt wurde, müssen Sie den Browser öffnen und 192.168.4.1 in das Adresseingabefeld eingeben |
|
| 5 |
Auf der geöffneten Seite müssen Sie Ihren Zugangspunkt auswählen, sein Passwort in das Feld unten eingeben und auf „Speichern“ klicken. |
|
|
|
|
| 6 | Wenn die Verbindung hergestellt ist, erscheint die Aufschrift „Erfolgreich mit WLAN verbunden“ und die Adresse Ihres Geräts im Netzwerk | |
| 7 | Stellen Sie eine Verbindung zu Ihrem WLAN-Netzwerk her und rufen Sie die in Punkt 6 angegebene Adresse auf | |
| 8 | Sie müssen das Gerät für die Stromquelle kalibrieren. Wie es geht, finden Sie hier: https://tasmota.github.io/docs/Power-Monitoring-Calibration/ | |
| 9 |
Die Smart-Steckdose ist betriebsbereit. Die Vorlage und die Regeln sind bereits aktiviert. Wenn Sie sie später benötigen, finden Sie sie unten |
|
|
|
|
| 10 |
{"NAME":"UNS A6T","GPIO":[1,1,576,1,32,1,1,1,1,224,2624,1,1,1,1,1,0,1,1,1,0,1,2656,2720,0,0,0,0,1,1,1,1,1,0,0,1],"FLAG":0,"BASE":1}Zur weiteren Konfiguration ist es notwendig, in der Konsole des Gerätes folgende Befehle einzugeben: SetOption21 1 SetOption146 0 Die Vorlage muss im Feld „Vorlage“ eingetragen werden, das Kästchen „Aktivieren“ ankreuzen und die Änderungen speichern:
|
|
| 11 |
Um die Smart-Steckdose auf die Werkseinstellungen zurückzusetzen, benötigen Sie: Stecken Sie das Gerät sechsmal ein und aus und lassen Sie es das siebte Mal eingeschaltet. Die LED sollte anfangen zu blinken. Dies bedeutet, dass die Steckdose wieder angeschlossen werden kann. Wenn Zugriff auf das Webinterface besteht, geben Sie „ reset 1“ in die Konsole ein und drücken Sie die Eingabetaste. |
|
| 12 |
Um das Gerät über das Matter -Protokoll mit Smart-Home-Systemen zu verbinden, lesen Sie die folgenden Informationen: |
|
|
Tasmota ist eine hoch erweiterbare und flexible Anwendung, die integriert werden kann mit: Alexa, AWS IoT, Domoticz, Home Assistant, Homebridge, HomeSeer, IP Symcon, KNX, NodeRed, nymea, OctoPrint, openHAB, Otto, IOBroker, Mozilla WebThings Adapter, SmartThings, Tasmohab, Homematic ip und mehr. Weitere Informationen finden Sie hier: https://tasmota.github.io/docs/Integrations/ |
||
ПОСІБНИК З ЕКСПЛУАТАЦІЇ
УВАГА: Tasmota не є комерційним продуктом, а підтримка обмежена. Ви повинні бути готові самостійно досліджувати та вирішувати потенційні проблеми.
Детальна інформація про підключення, зміну налаштувань і модифікацій представлена на сайті " https://tasmota.github.io/docs/ "
опис
Розумна Wi-Fi розетка NOUS A6T з встановленним відкритим ПО Tasmota (далі – смарт розетка) призначена для організації автоматичного та ручного вимкнення електроприладів на вулиці, шляхом віддаленого доступу через мережу Wi-Fi, за допомогою смартфона або з персонального пк через Web інтерфейс. Зв'язок зі смарт розеткою налаштований через Wi-Fi мережу, для чого використовується бездротовий Wi-Fi адаптер. Смарт розетка обладнана механічною кнопкою та світовою індикацією стану пристрою. Смарт розетка обладнана електромеханічним реле та тідтримуе протокол Matter. Пристрій має функцію енергомоніторингу та датчик температури.
УВАГА: З'єднання смарт розети з Wi-Fi мережею не може бути гарантоване в усіх випадках, оскільки воно залежить від багатьох умов: якості каналу зв'язку та проміжного мережевого обладнання, марки та моделі мобільного пристрою, версії операційної системи тощо.
ЗАПОБІЖНІ ЗАХОДИ
- Уважно прочитайте цю інструкцію.
- Використовувати продукт у межах температури та вологості, зазначених у технічному паспорті.
- Не встановлюйте виріб поблизу джерел тепла, наприклад, радіаторів опалення тощо.
- Не допускати падіння пристрою і впливу на нього механічних навантажень.
- Не використовуйте для чищення виробу хімічно активні та абразивні миючі засоби. Використовуйте для цього вологу фланелеву ганчірку.
- Не призводьте до перенавантаження зазначеної потужності. Це може призвести до короткого замикання та ураження електричним струмом.
- Не розбирайте виріб самостійно - діагностику і ремонт пристрою необхідно проводити тільки в сертифікованому сервісному центрі.
- Будь ласка, зверніться до продавця для заміни, якщо є пошкодження, спричинені транспортуванням.
- Будь ласка, вставляйте вилку в розетку в належному стані та подалі від дітей.
- З міркувань безпеки під час використання повністю вставляйте вилку в розетку.
Дизайн і елементи керування
| № | Ім'я | опис |
| 1 | Індикатор | Показує поточний стан пристрою |
| 2 | Кнопка | Короткотривале натискання кнопки перемикає пристрій "ON" "OFF". |
Підключення
Для підключення смарт розетки Nous А8Т необхідний смартфон або персональний ПК.
Порядок підключення смарт розетки до мережі Wi-Fi:
| 1 | Переконайтеся, що діапазон частот мережі до якоі буде підключеній пристрій 2,4 ГГц, інакше смарт розетка не під'єднається, оскільки смарт розетка не призначена для роботи з мережами Wi-Fi 5 ГГц; | |
| 2 | Увімкніть смарт розетку до мережі. На ПК в списку мереж повинна з'явитися точка доступу "tasmota-xxxxxxx", якщо точки доступу не виявлено потрібно зробити "RESET" згідно пункту 11 | |
| 3 | Під'єднайтеся до точки доступу "tasmota-xxxxxxx" | |
| 4 |
Після підключення до точки доступу, автоматично відкриється браузер та перейде за посиланням 192.168.4.1, якщо данної операції не послідувало то потрібно відкрити браузер та в полі вводу адреси ввести 192.168.4.1 |
|
| 5 |
На відкритій сторінці потрібно вибрати вашу точку доступу та в поле нижче ввести пароль від неї и натиснути "Save" |
|
|
|
|
| 6 | При закінченні підключення з'явиться напис про "Успішне підключення до Wi-Fi" та адрес вашого девайсу в мережі | |
| 7 | Підключіться до вашої Wi-Fi мережі та перейдіть за адресою яка була вказана в пункті 6 | |
| 8 | Вам потрібно буде відкалібрувати пристрій для джерела живлення. Як це зробити, ви можете знайти тут: https://tasmota.github.io/docs/Power-Monitoring-Calibration/ | |
| 9 |
Смарт розетка готова до використання. Шаблон і правила вже активовано, але якщо він вам знадобиться пізніше - ви можете знайти його нижче |
|
|
|
|
| 10 |
{"NAME":"NOUS A6T","GPIO":[1,1,576,1,32,1,1,1,1,224,2624,1,1,1,1,1,0,1,1,1,0,1,2656,2720,0,0,0,0,1,1,1,1,1,0,0,1],"FLAG":0,"BASE":1}для подальшого налаштування необхідно в консолі приладу ввести слідуючі команди: SetOption21 1 SetOption146 0 Шаблон потрібно внести в поле "Template", свтановіти галочку "Activate" та зберегти зміни:
|
|
| 11 |
Щоб скинути смарт розетку до заводських налаштувань потрібно: Підключіть і вимкніть пристрій 6 разів і залиште ввімкненим на 7-й - світлодіод повинен почати блимати, це означає, що розетка готова до підключення знову; якщо є доступ до веб-інтерфейсу то введіть "reset 1" у консолі та натисніть "enter" |
|
| 12 |
Щоб підключити пристрій до систем розумного будинку по протоколу Matter ознайомтесь з наступною інформацією: |
|
|
Tasmota є дуже розширюваною та гнучкою програмою, яку можна інтегрувати з: Alexa, AWS IoT, Domoticz, Home Assistant, Homebridge, HomeSeer, IP Symcon, KNX, NodeRed, nymea, OctoPrint, openHAB, Otto, IOBroker, Mozilla WebThings Adapter, SmartThings, Tasmohab, Homematic ip тощо. для отримання додаткової інформації дивіться тут: https://tasmota.github.io/docs/Integrations/ |
||